We have documented this complete new construction of a small multi-purpose building to allow you to see and read about the step-by-step process that happens for new construction. This particular small building is to be used as a Photography/Portrait Studio (Photography by Ric Johnson). We’re calling this the Multi-Purpose Building because it can be easily modified to be used as a Guest House, Office Building, Man Cave, She Shed, or Workshop. This is a 16 ft. X 32 ft. building with an 8 ft X 8 ft. closet and 8 ft. X 8 ft. open waiting area. The closet can easily be transformed into a bathroom and a mini-kitchen added in the open waiting area to be used in any application you can imagine. See the complete construction process in our journal blog, Diary of a Multi-Purpose Building. Click image for larger view. Photos by Ric Johnson (RicJPhotography.com).. See the project gallery page, click here.
DRY WALL, WINDOWS, PAINTING, FLOORING & COMPLETION
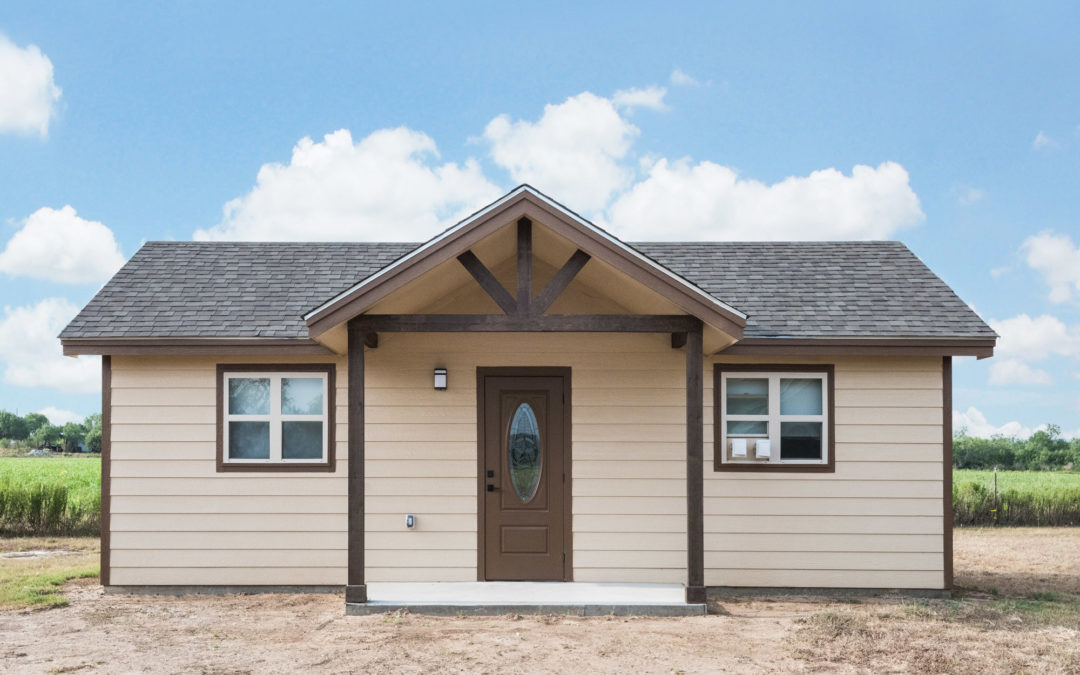
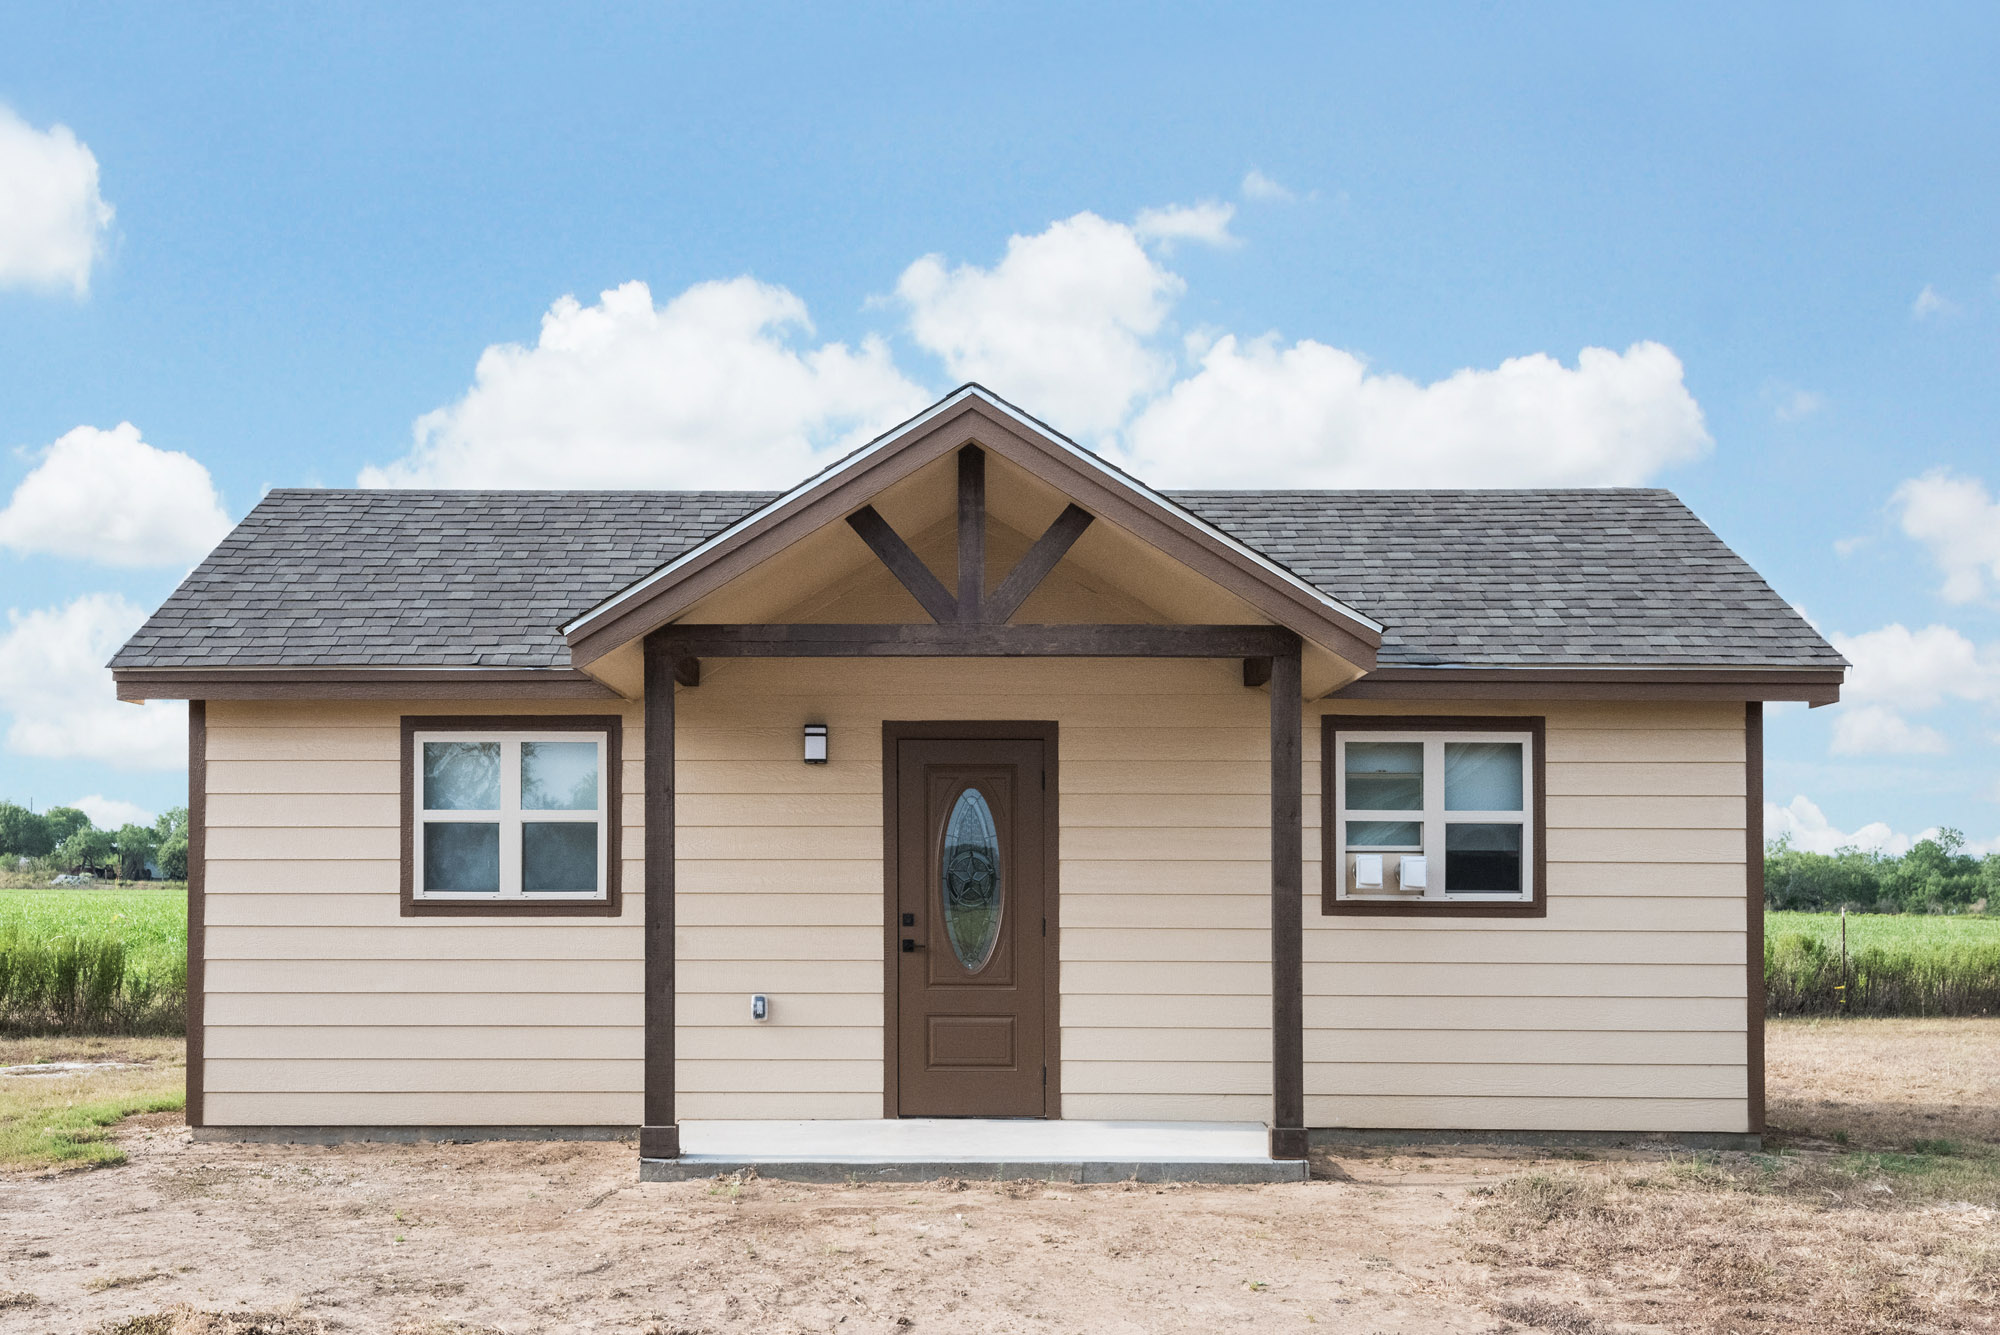
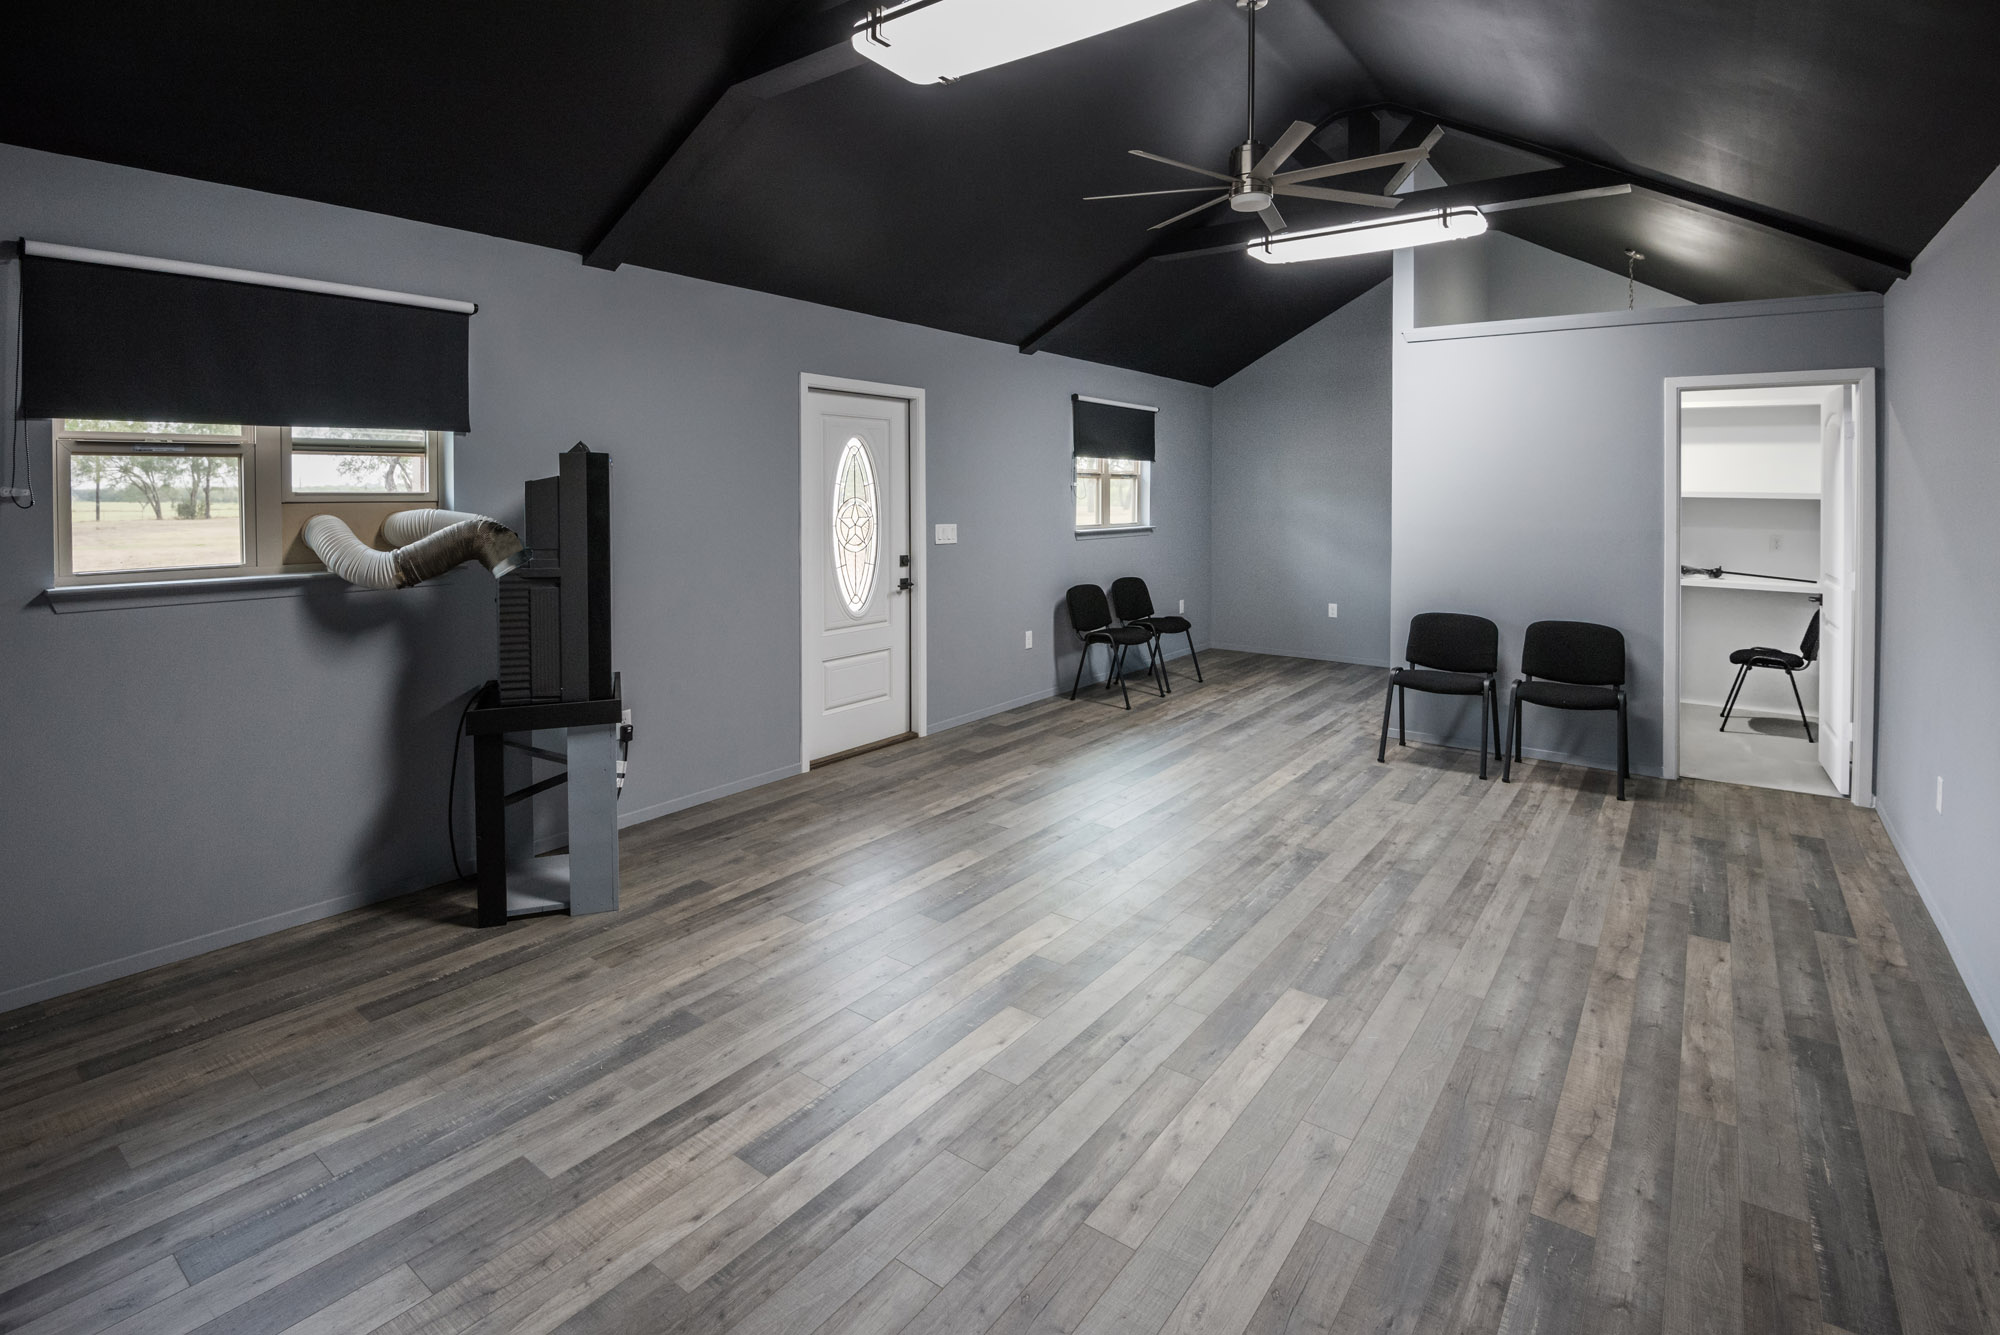
After the spray foam and roofing, the dry wall is added, windows installed and then exterior and interior painting. We then add flooring, in this case wood laminate flooring, and the finial touch-ups to complete the build. Here are some of the finished photos. As you can see, the space has an open floor plan and the vaulted ceiling makes the space feel much larger. The photographer needed a gray and white color palette and the ceiling to be black for proper lighting of portrait photography, so the vaulted beams are not as visible. However, in other uses as a guest house or office building, a white ceiling and stained cedar beams would make this space bright and feel even more open. The closet is large enough to easily convert to a bathroom with shower, vanity and toilet. The open area could easily be converted to a mini-kitchen or receptionist area. This small building design has unlimited possibilities for uses.

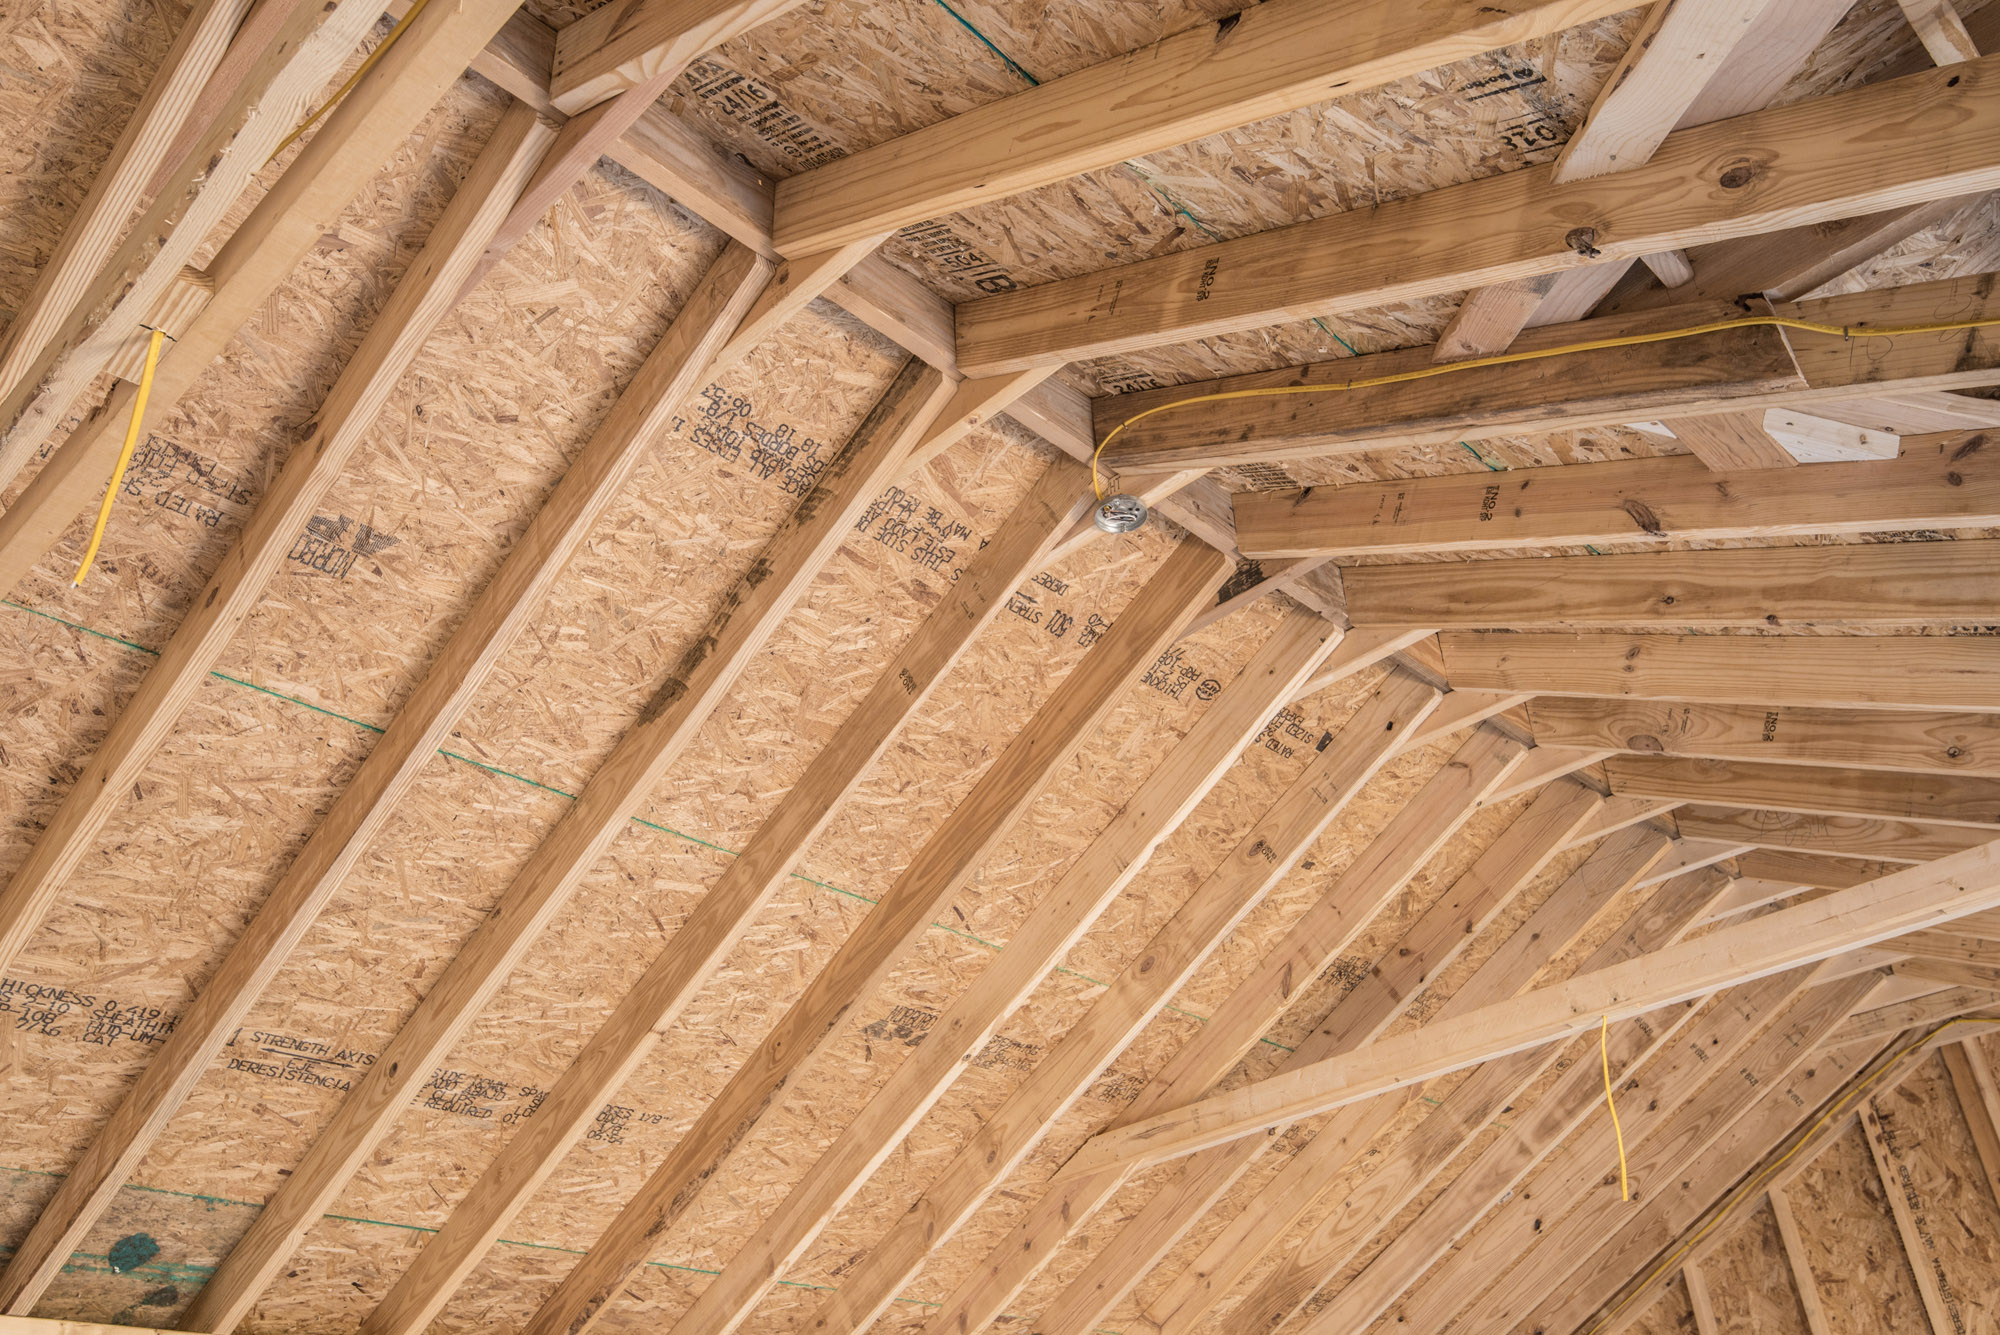
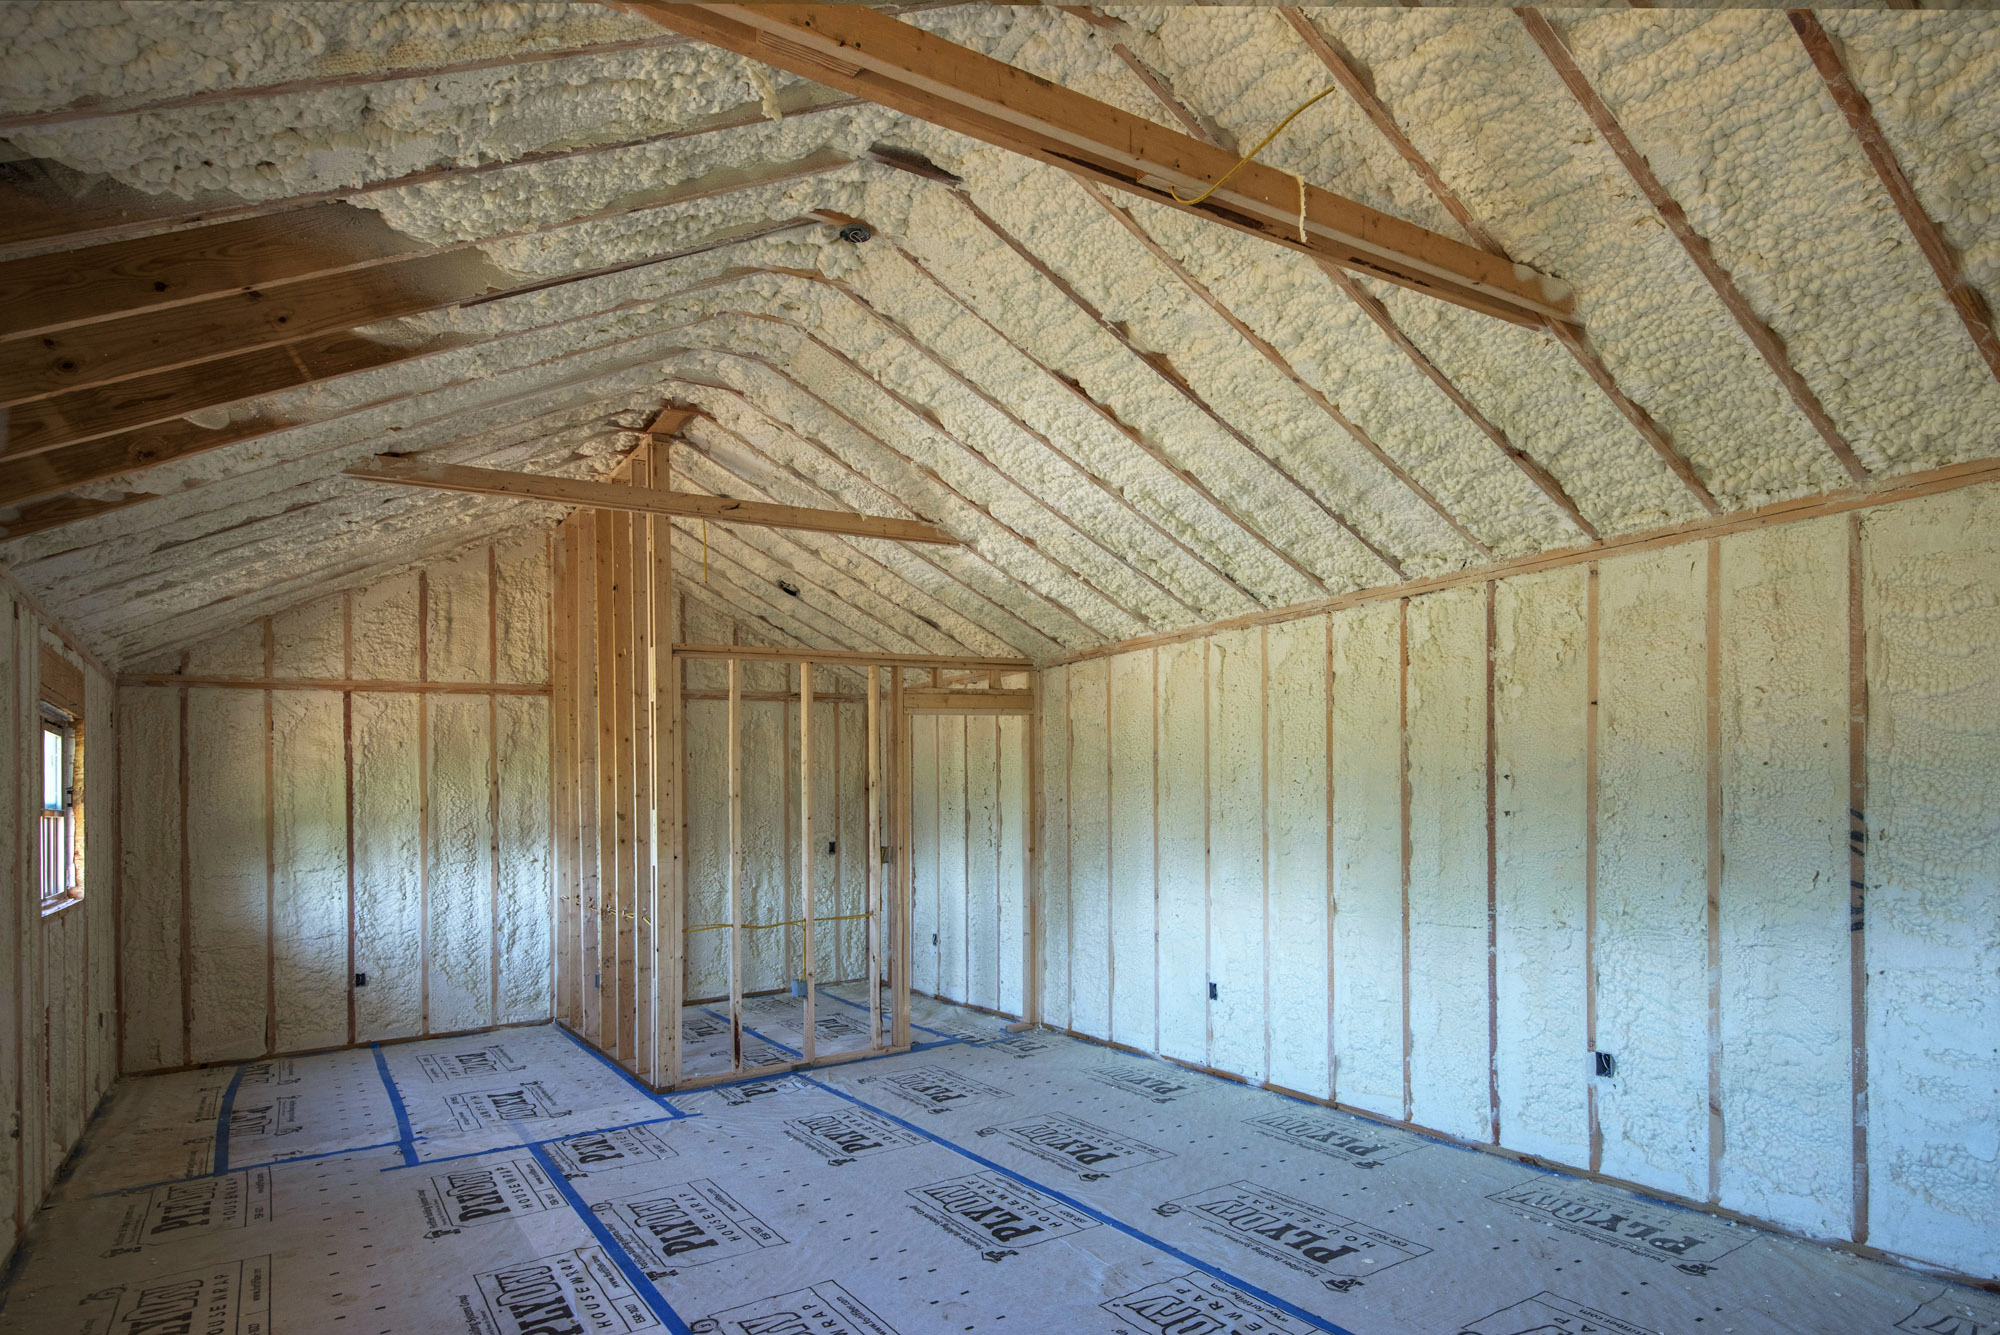
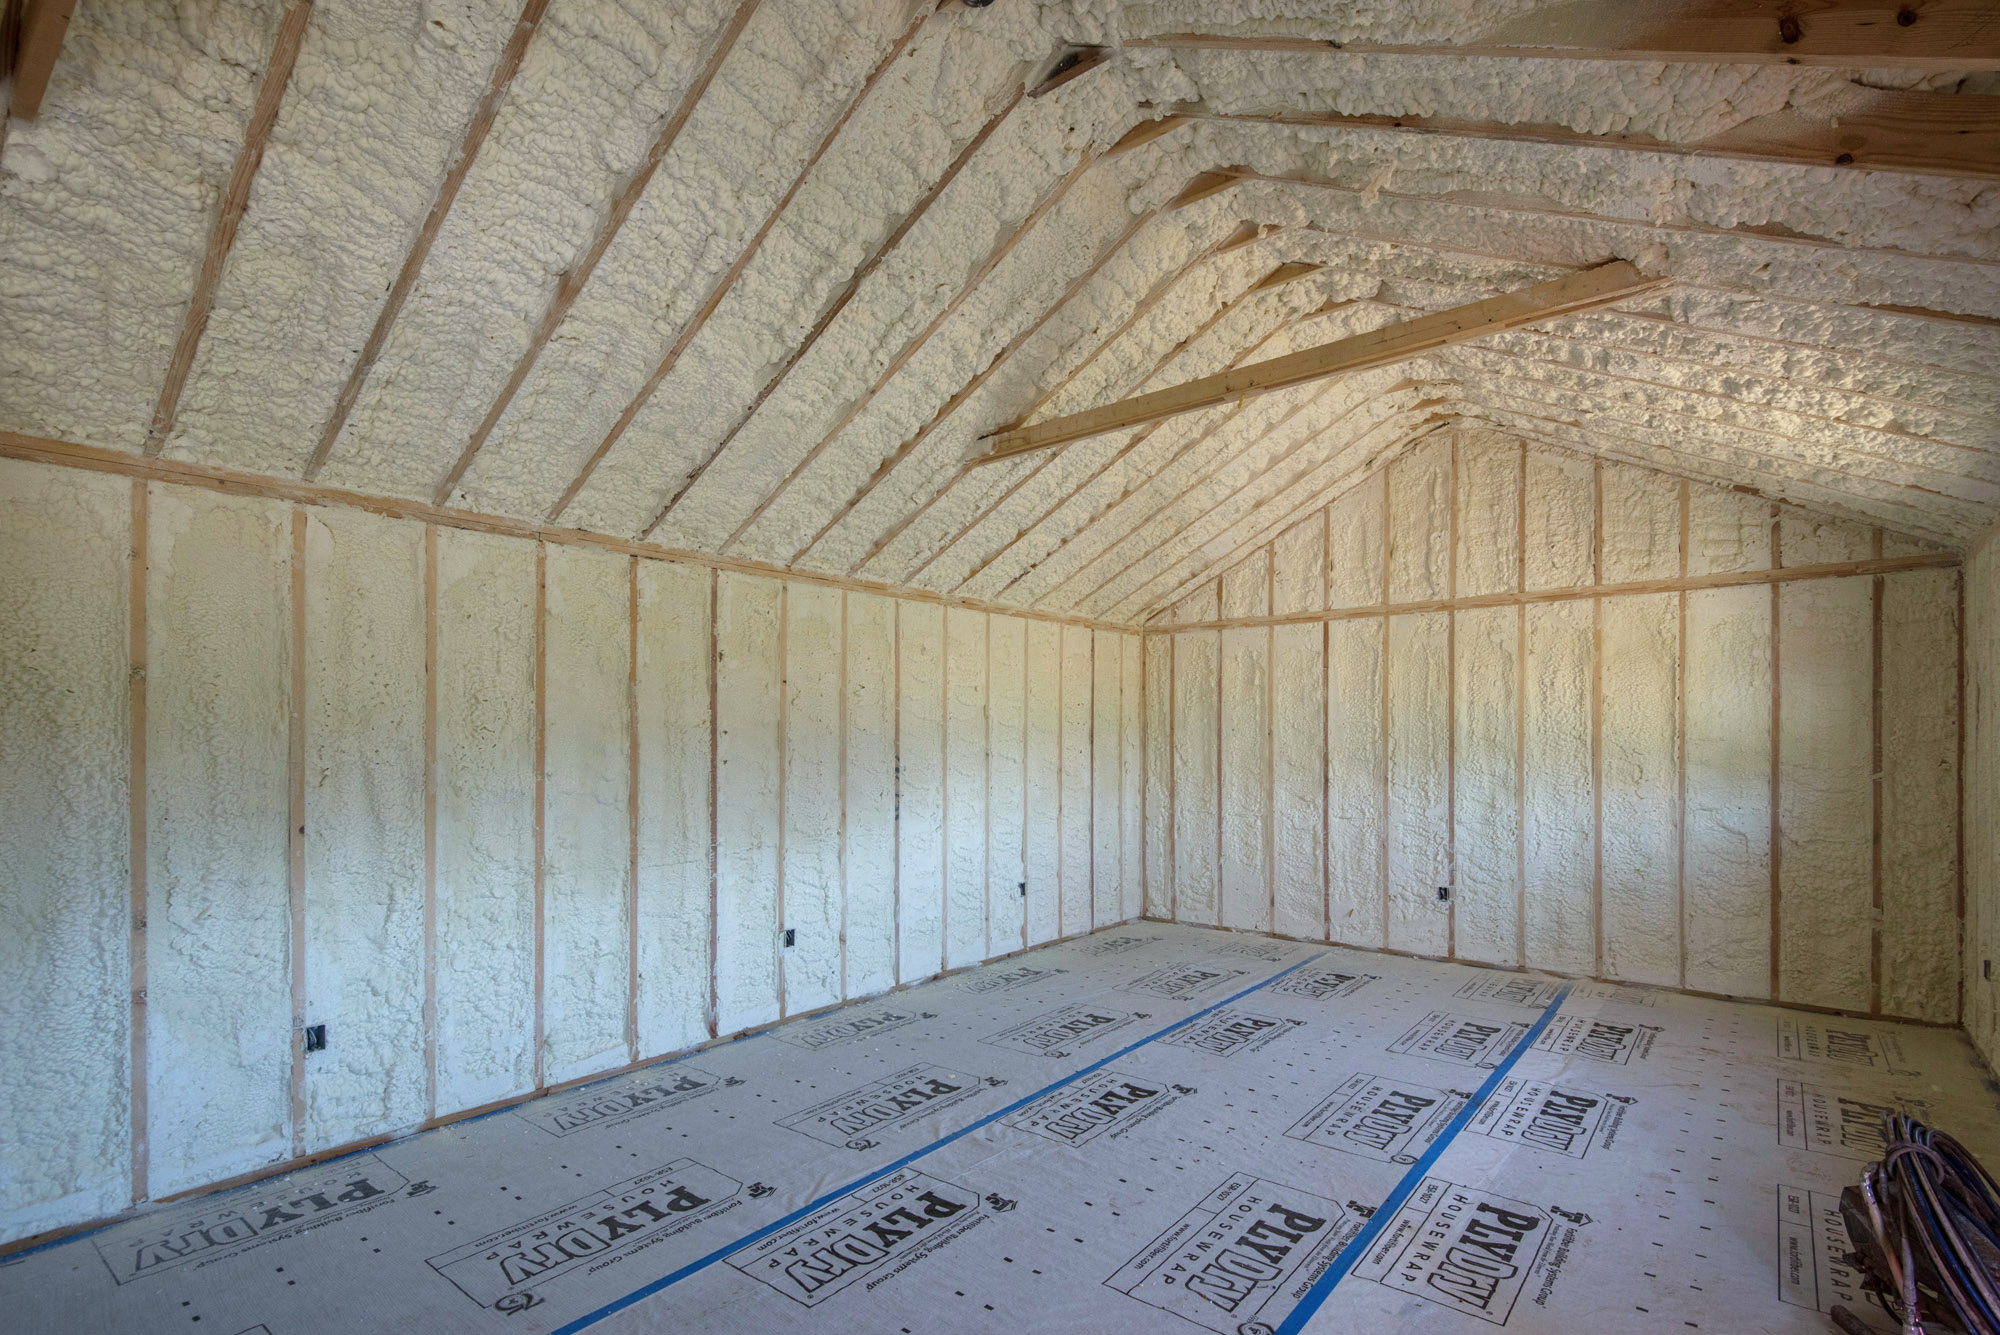
SPRAY FOAM & ROOFING
Once electrical wiring is in place we add insulation. This client opted for a more energy efficient spray foam, which will help reduce overall heating and cooling expense. We simultaneously complete the roofing.
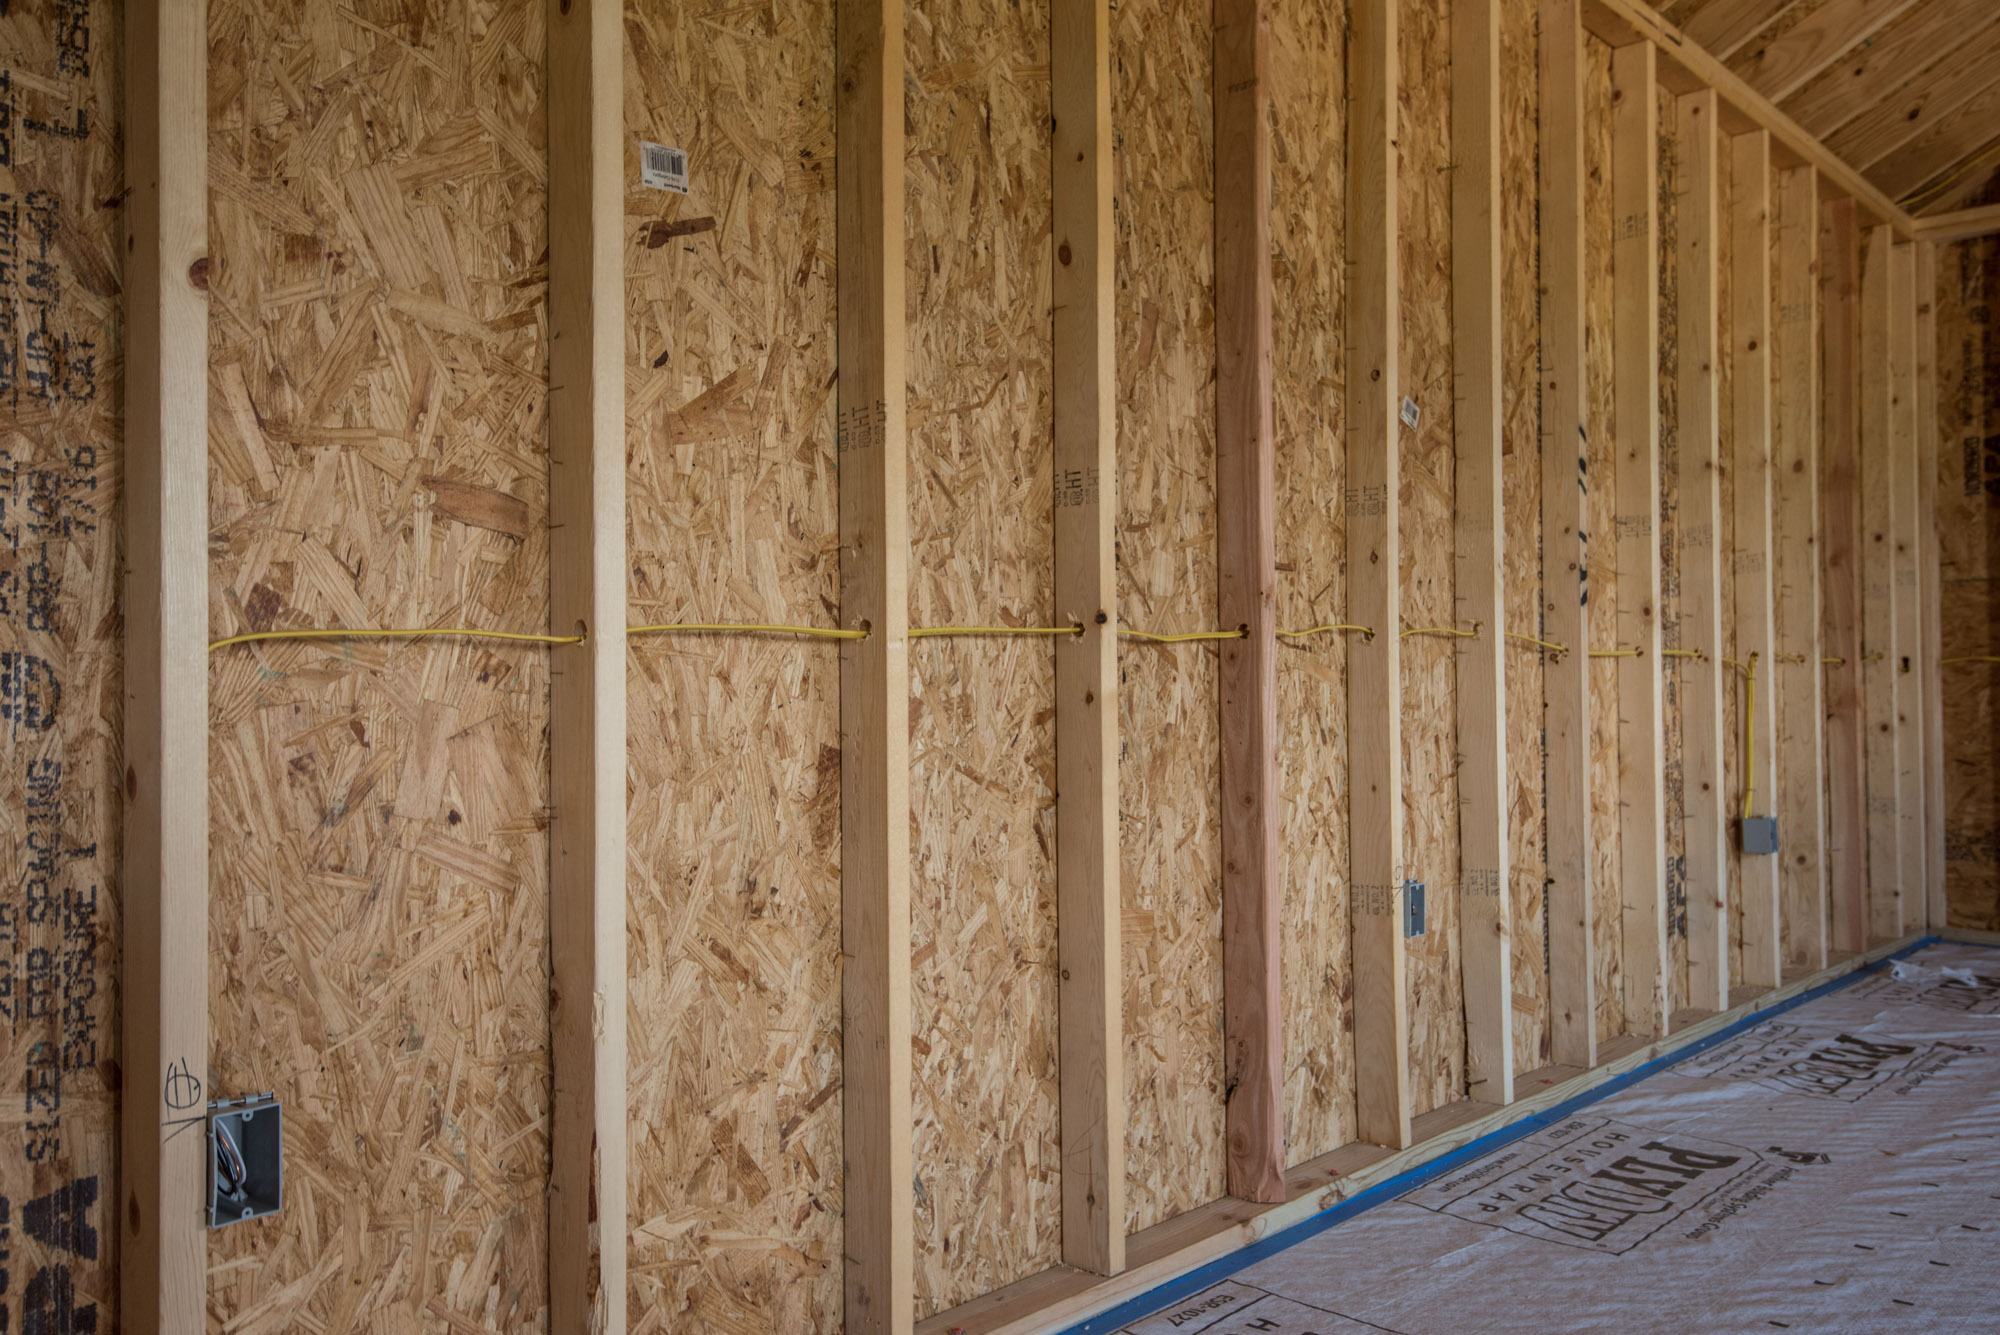
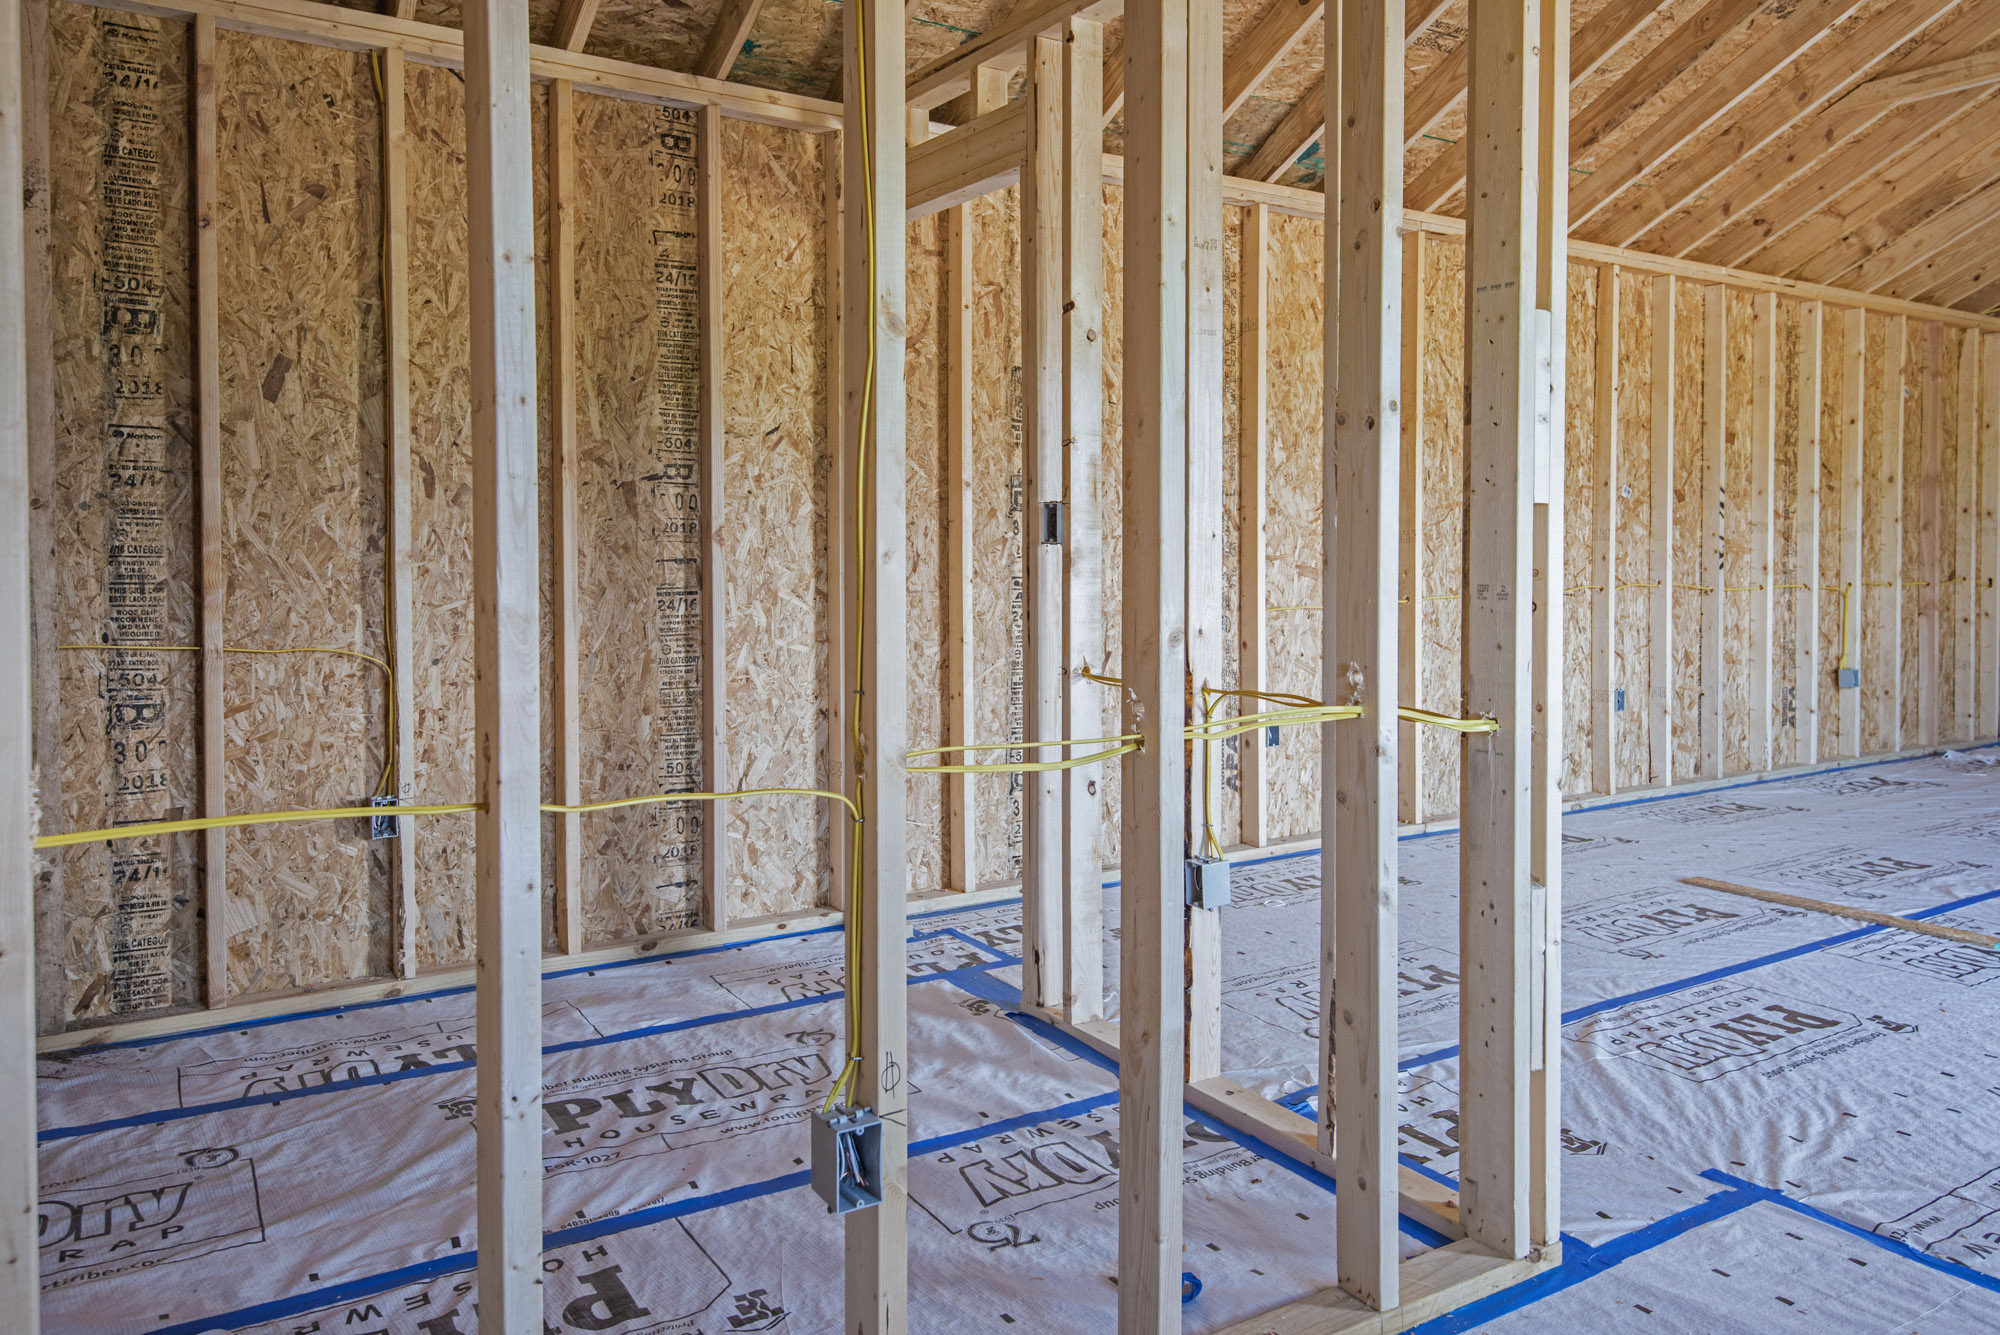
ELECTRICALS
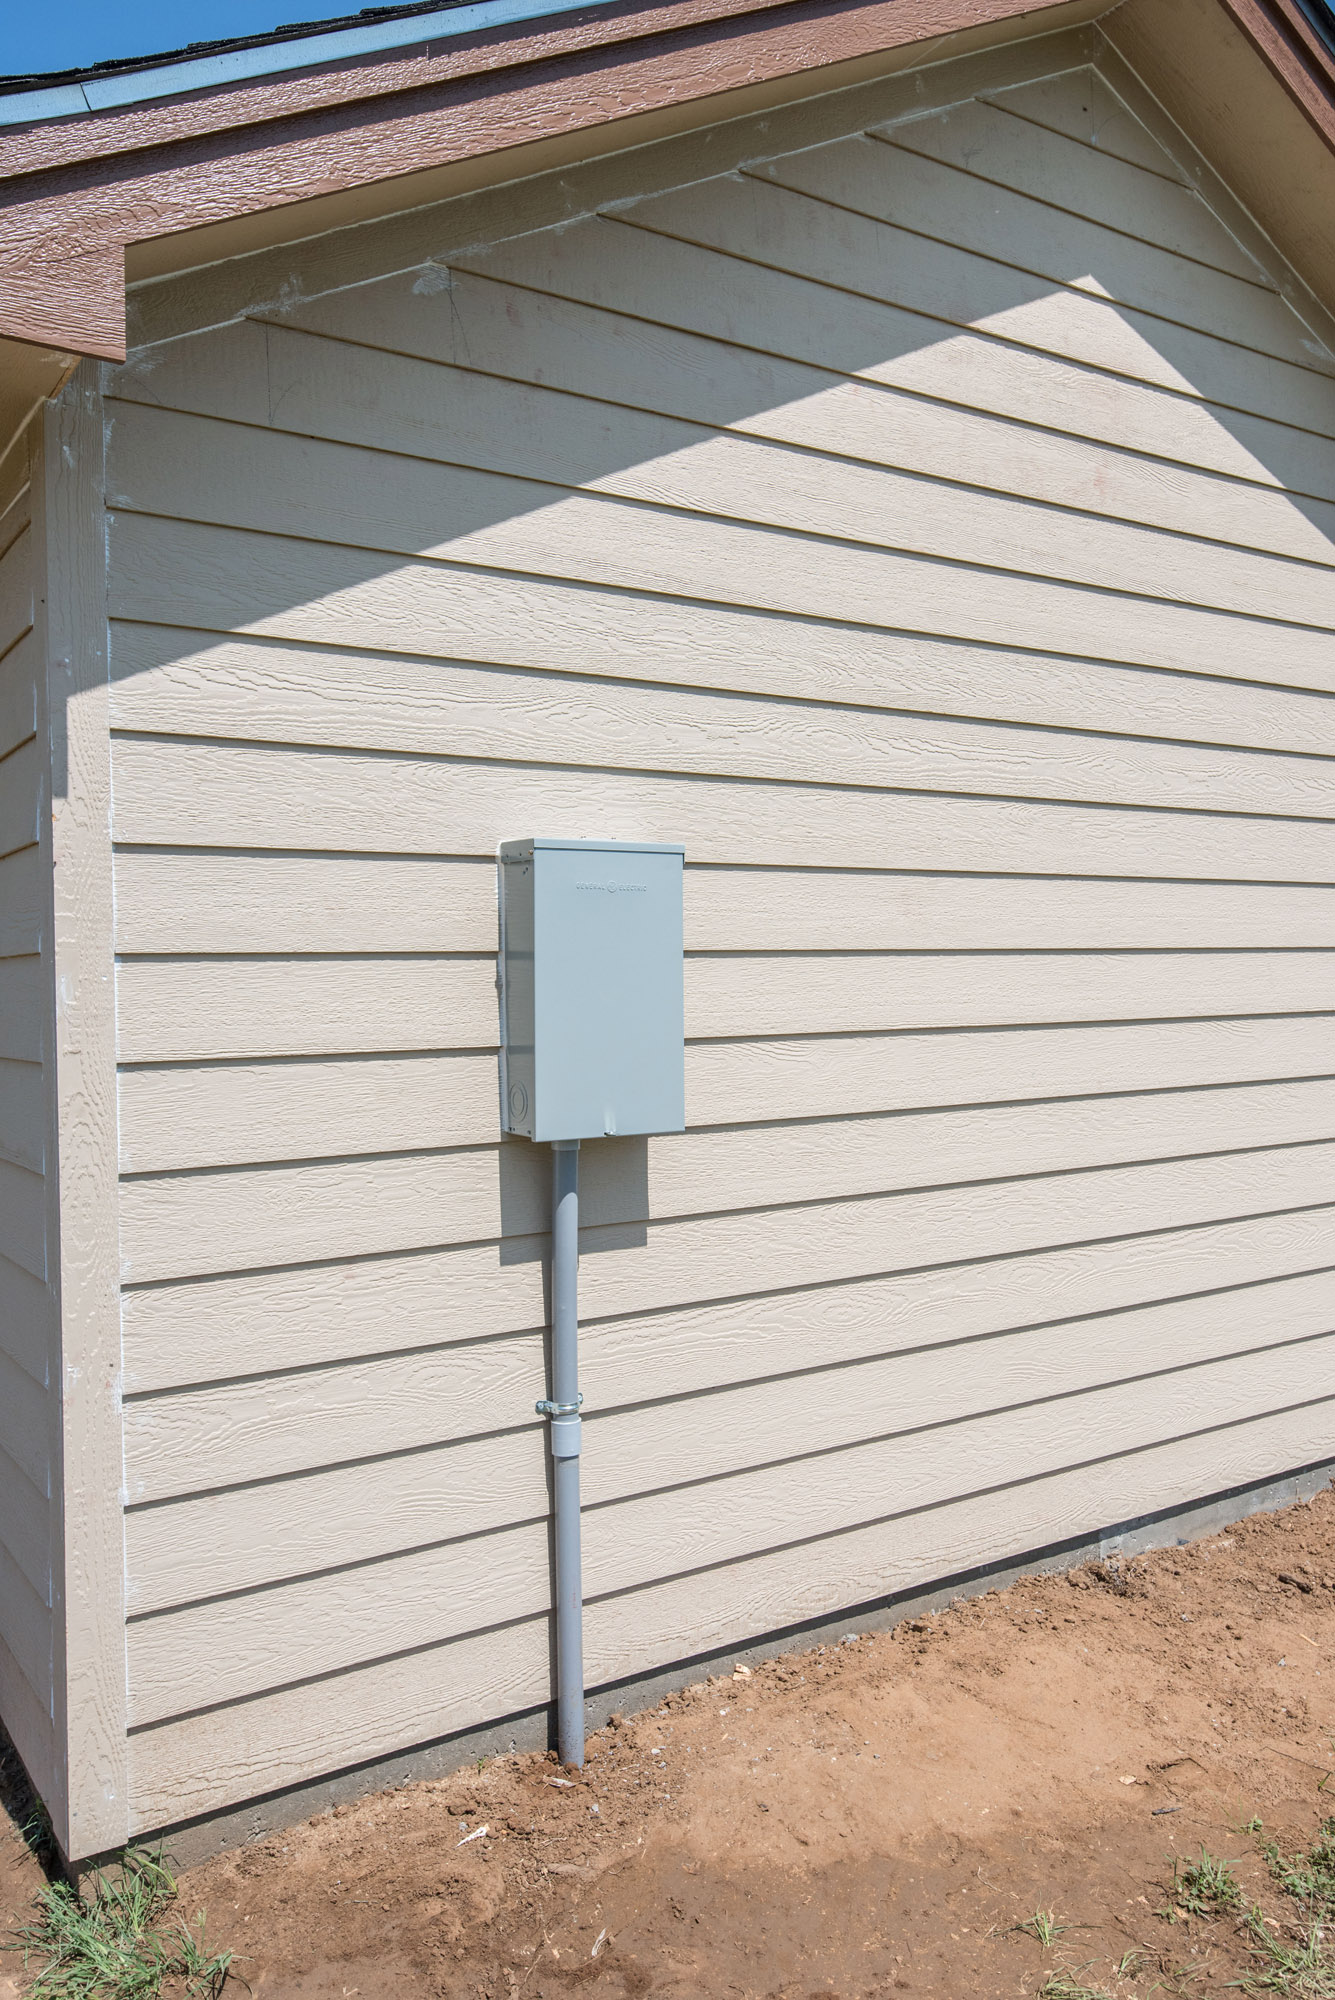
With framing complete, the electrical wiring and panel get installed.
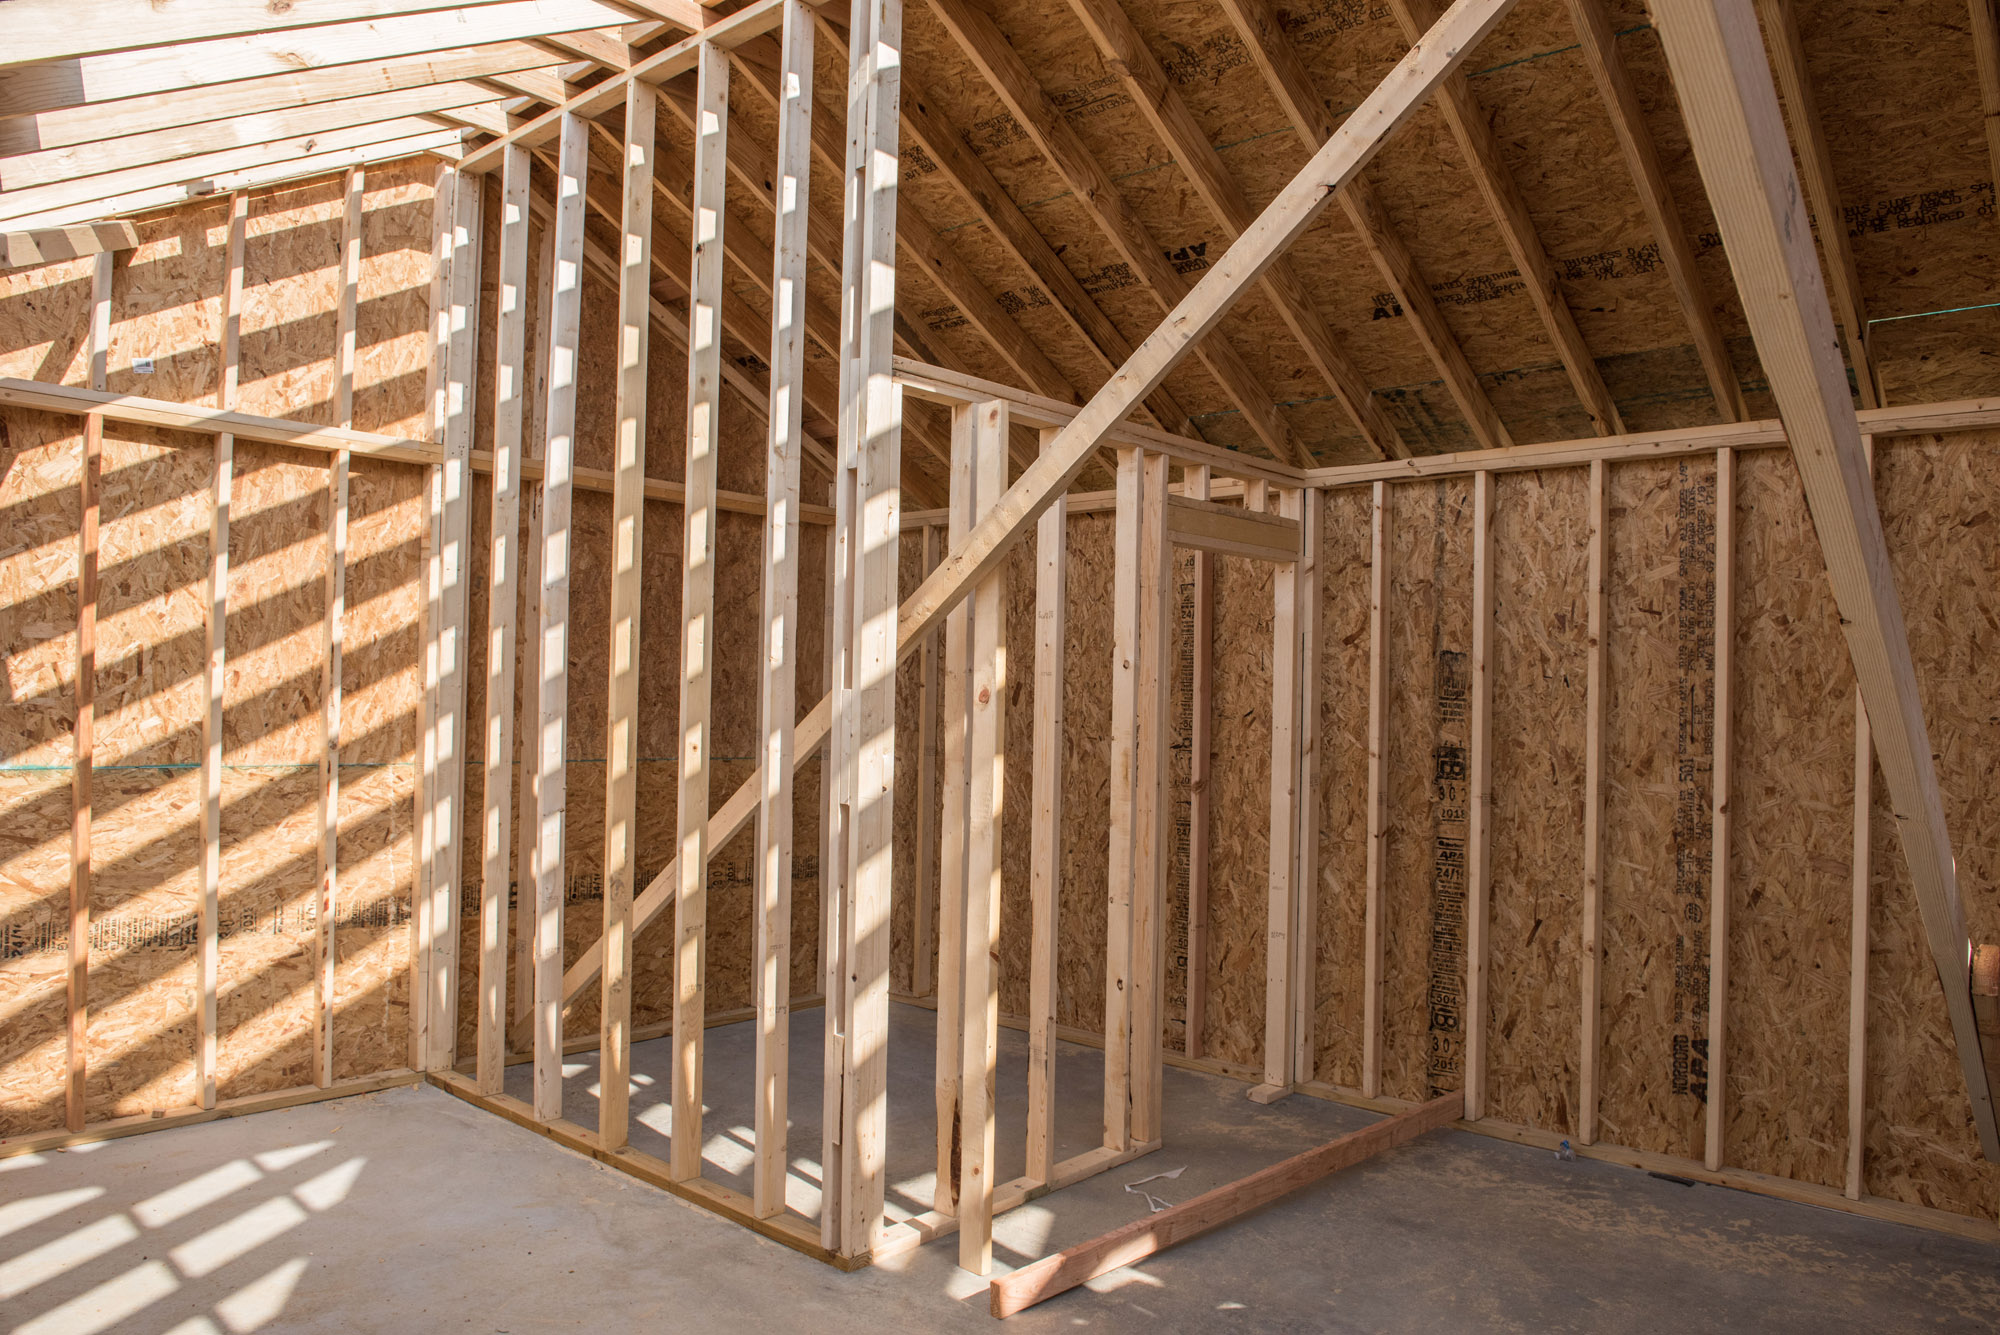
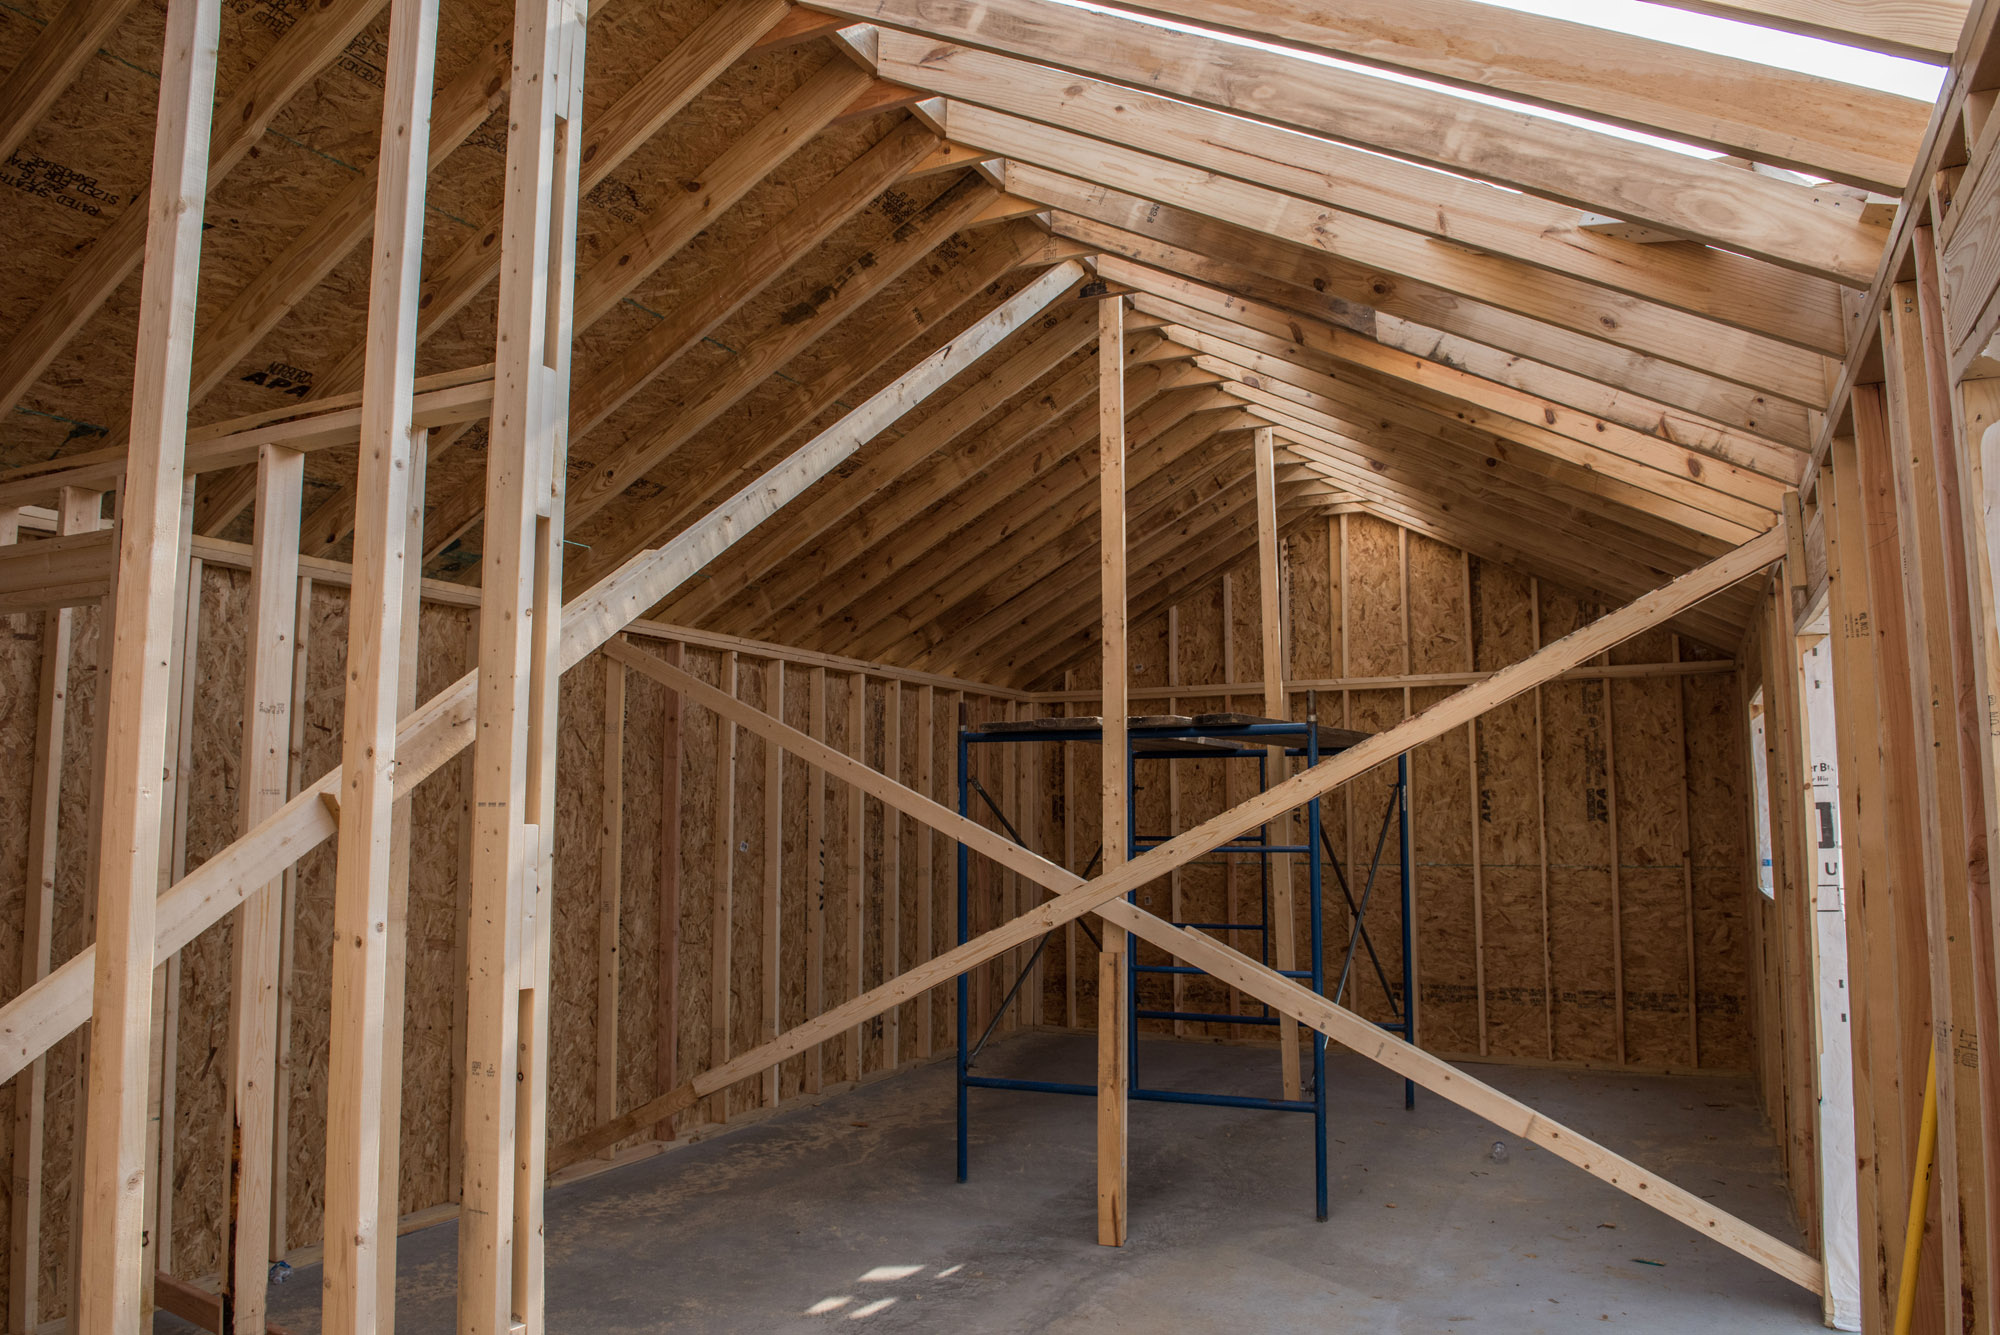
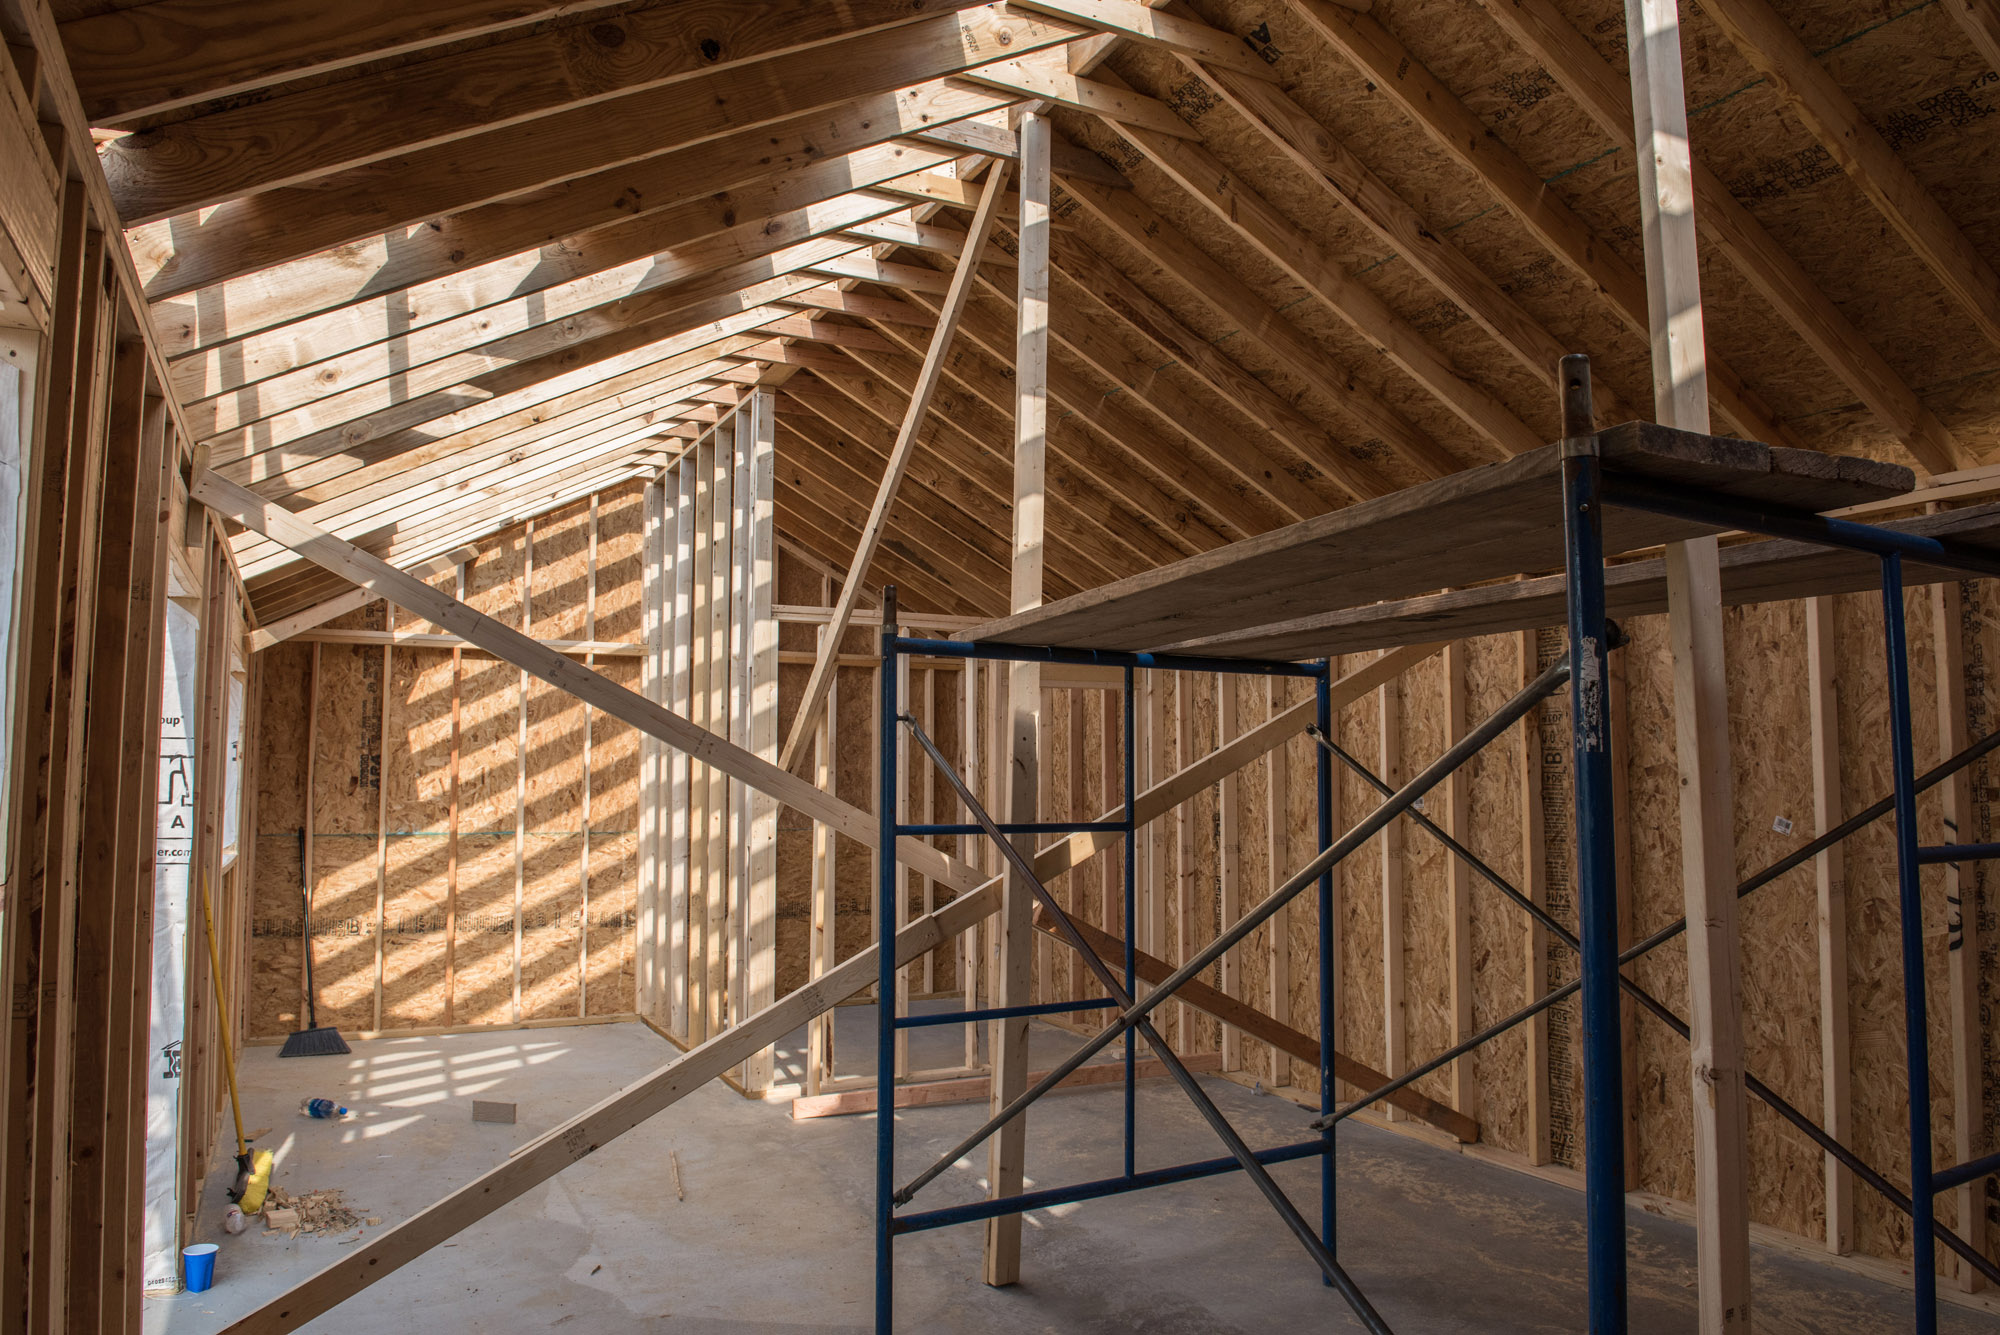
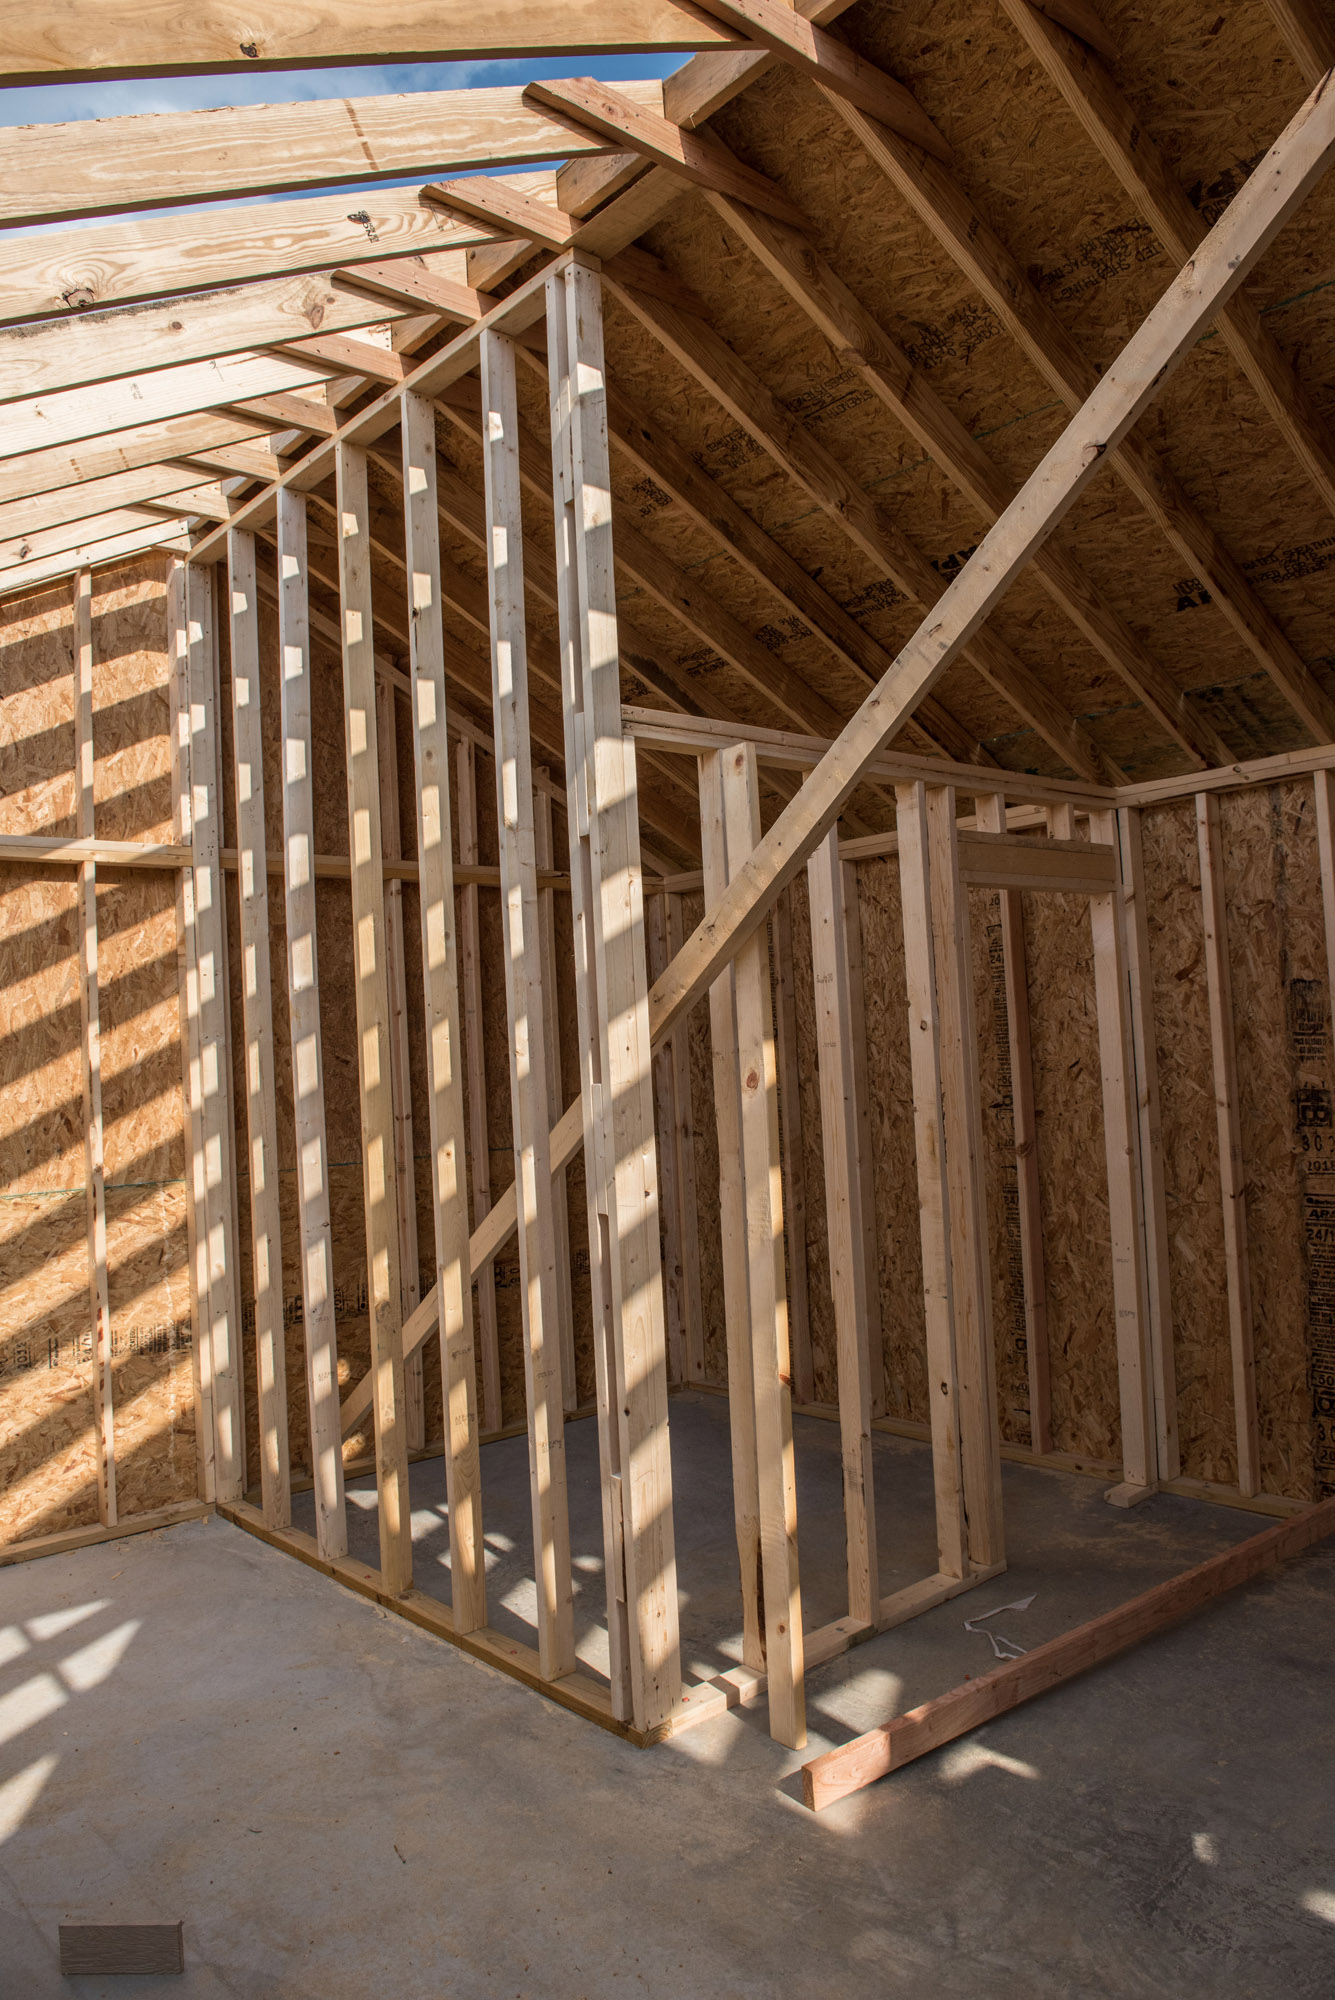
FRAMING
After the slab pour, we frame up the building.


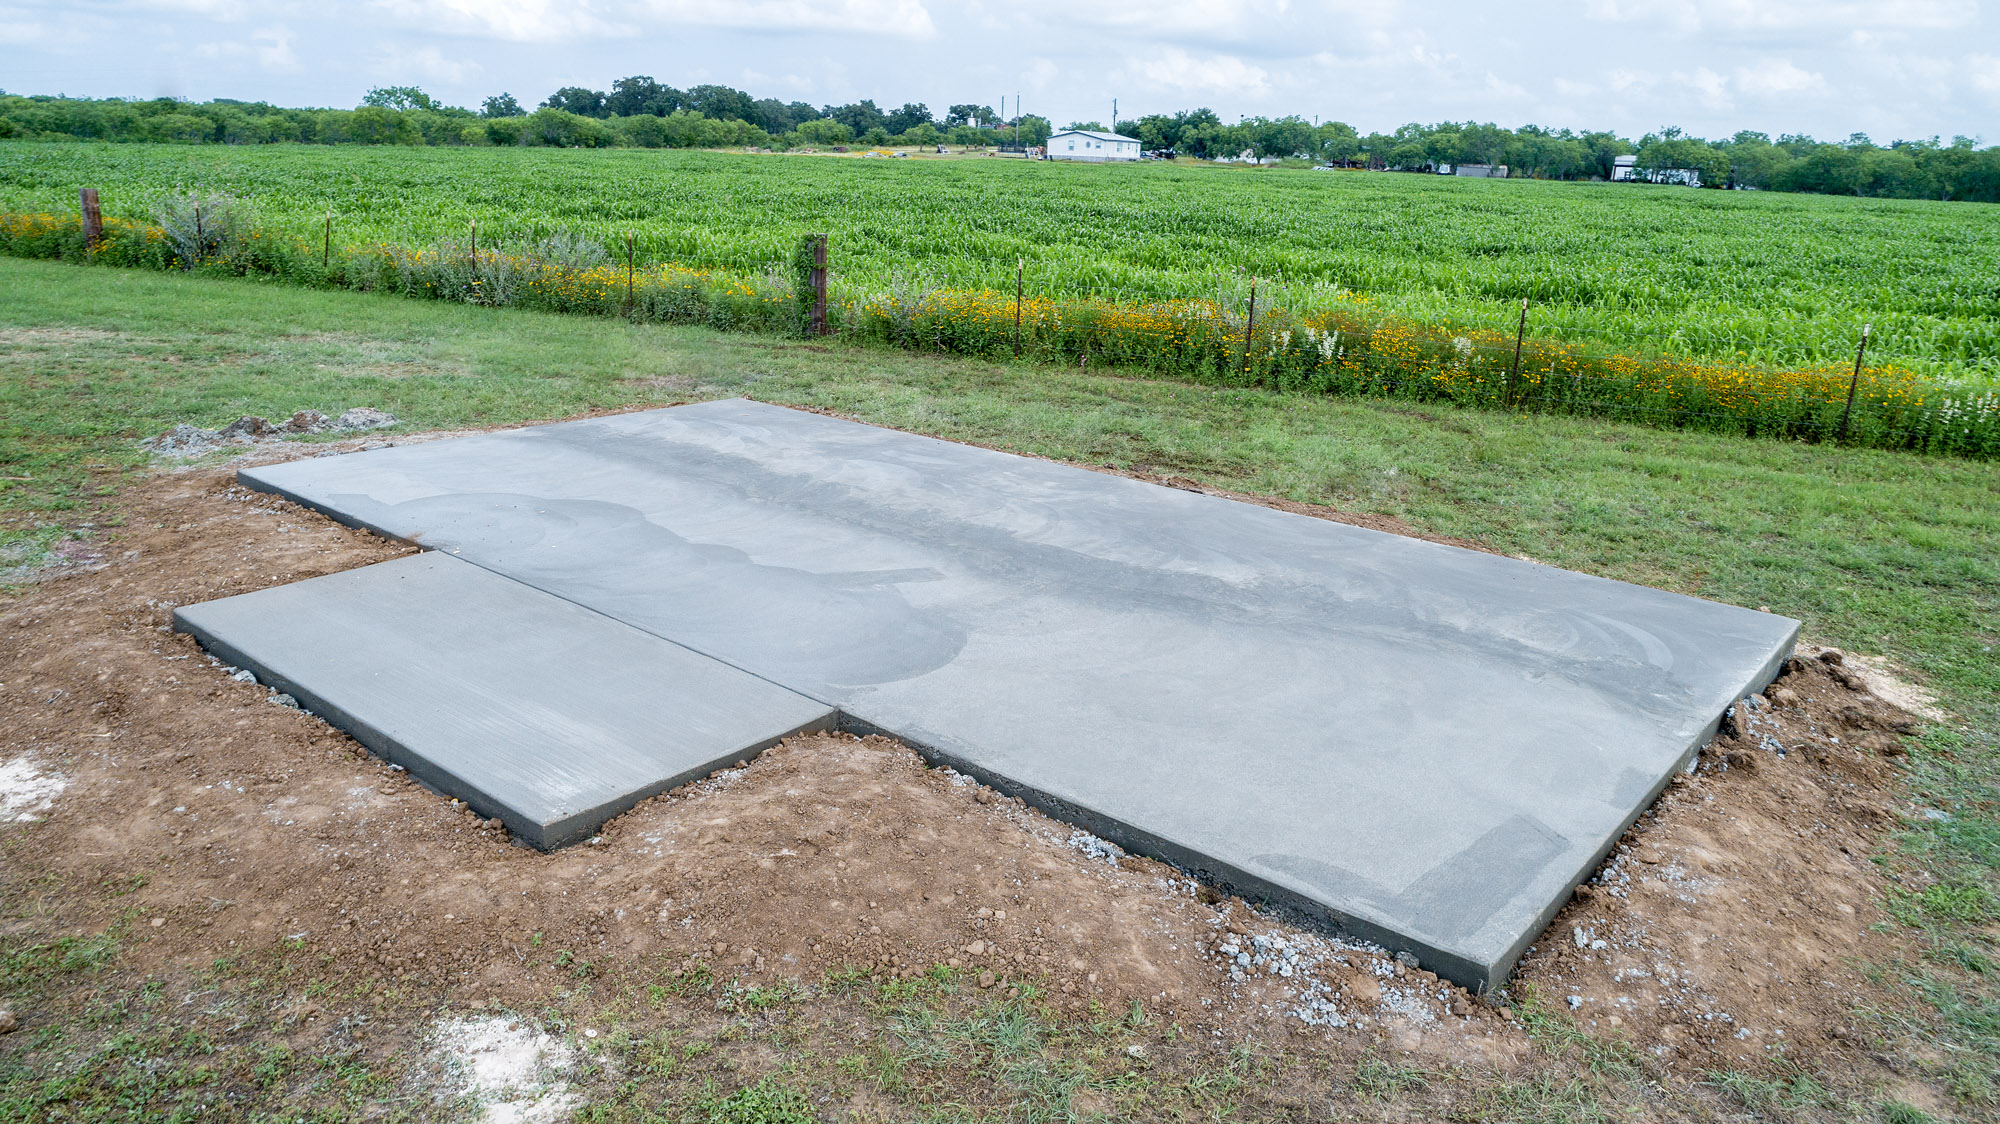
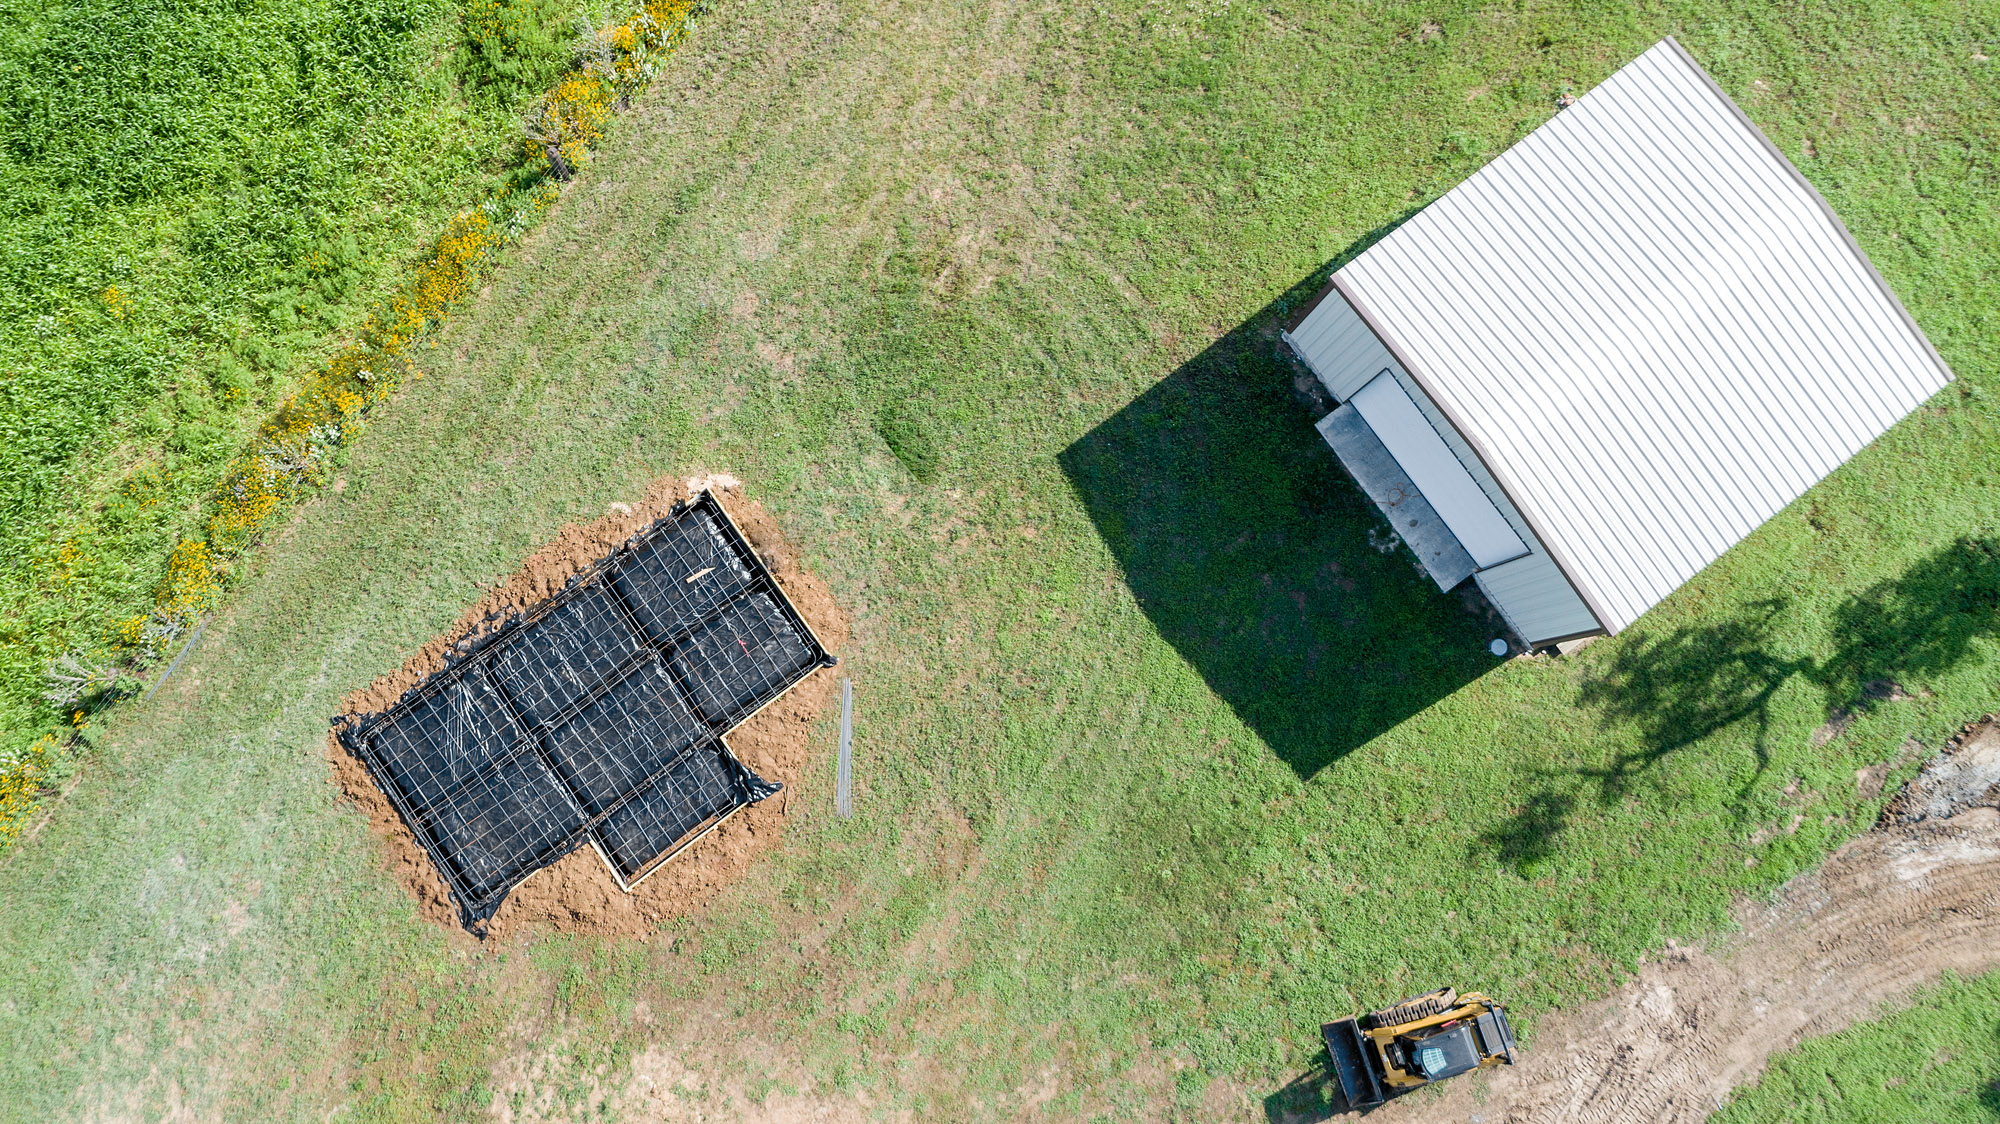
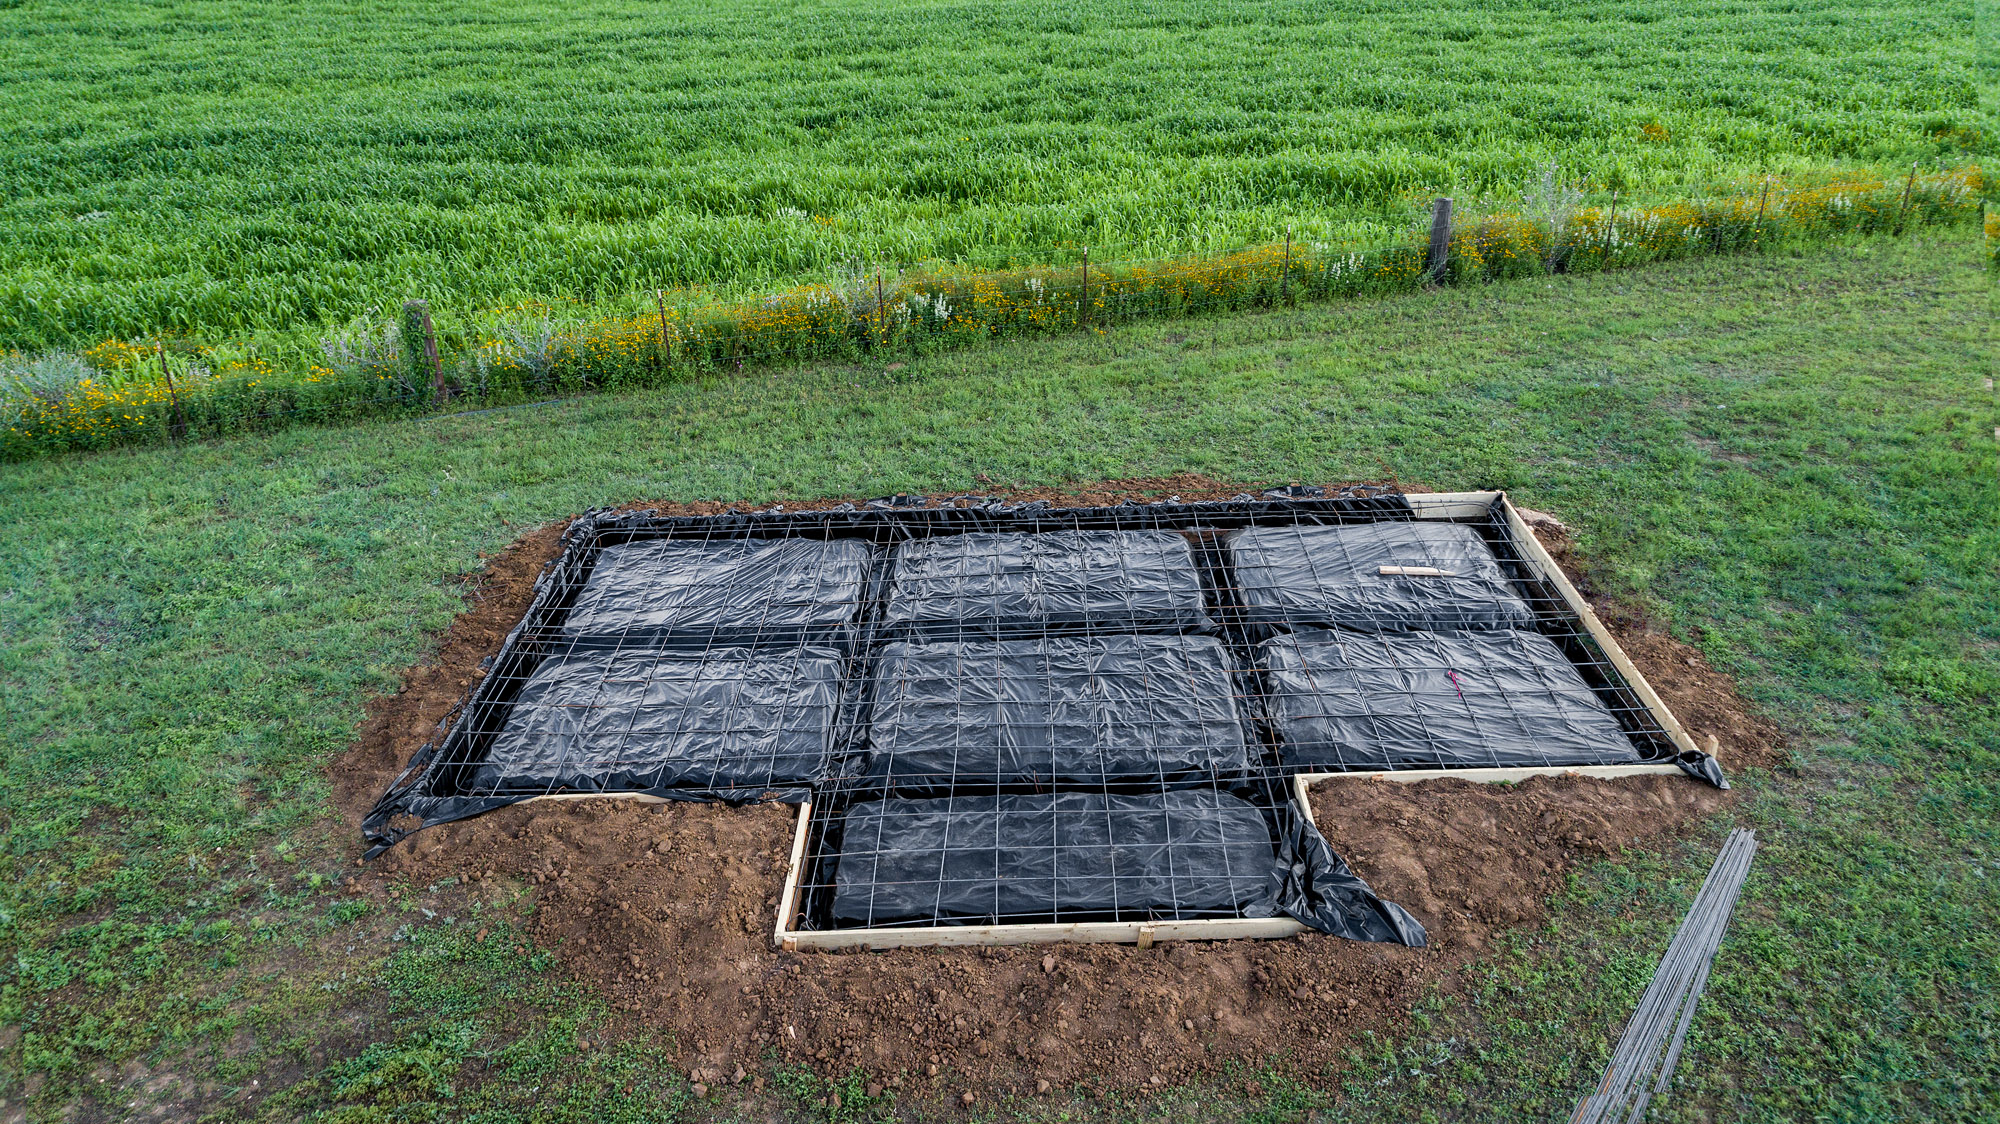
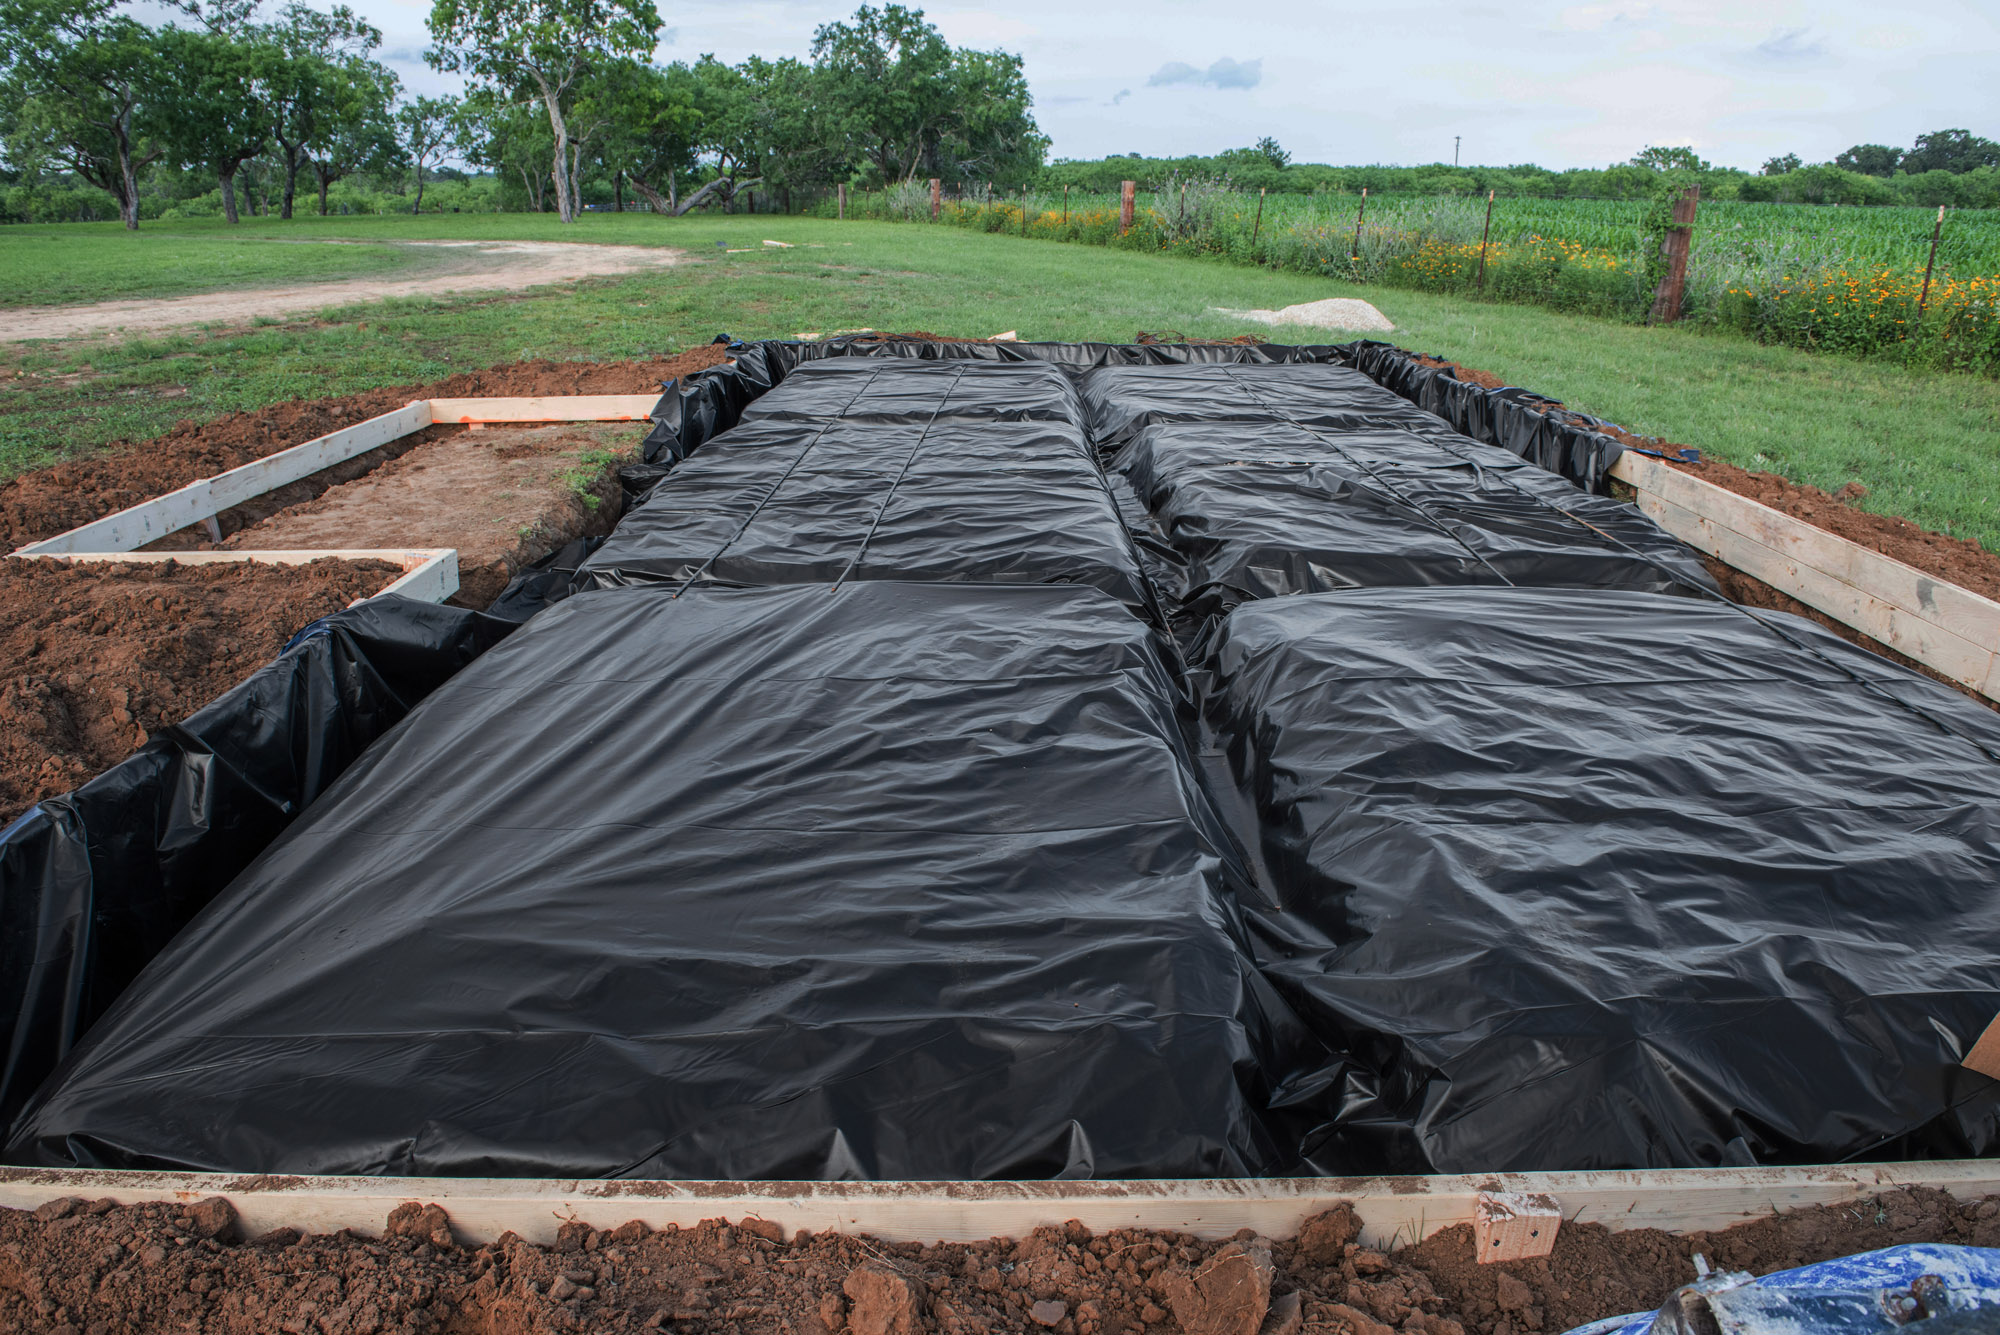
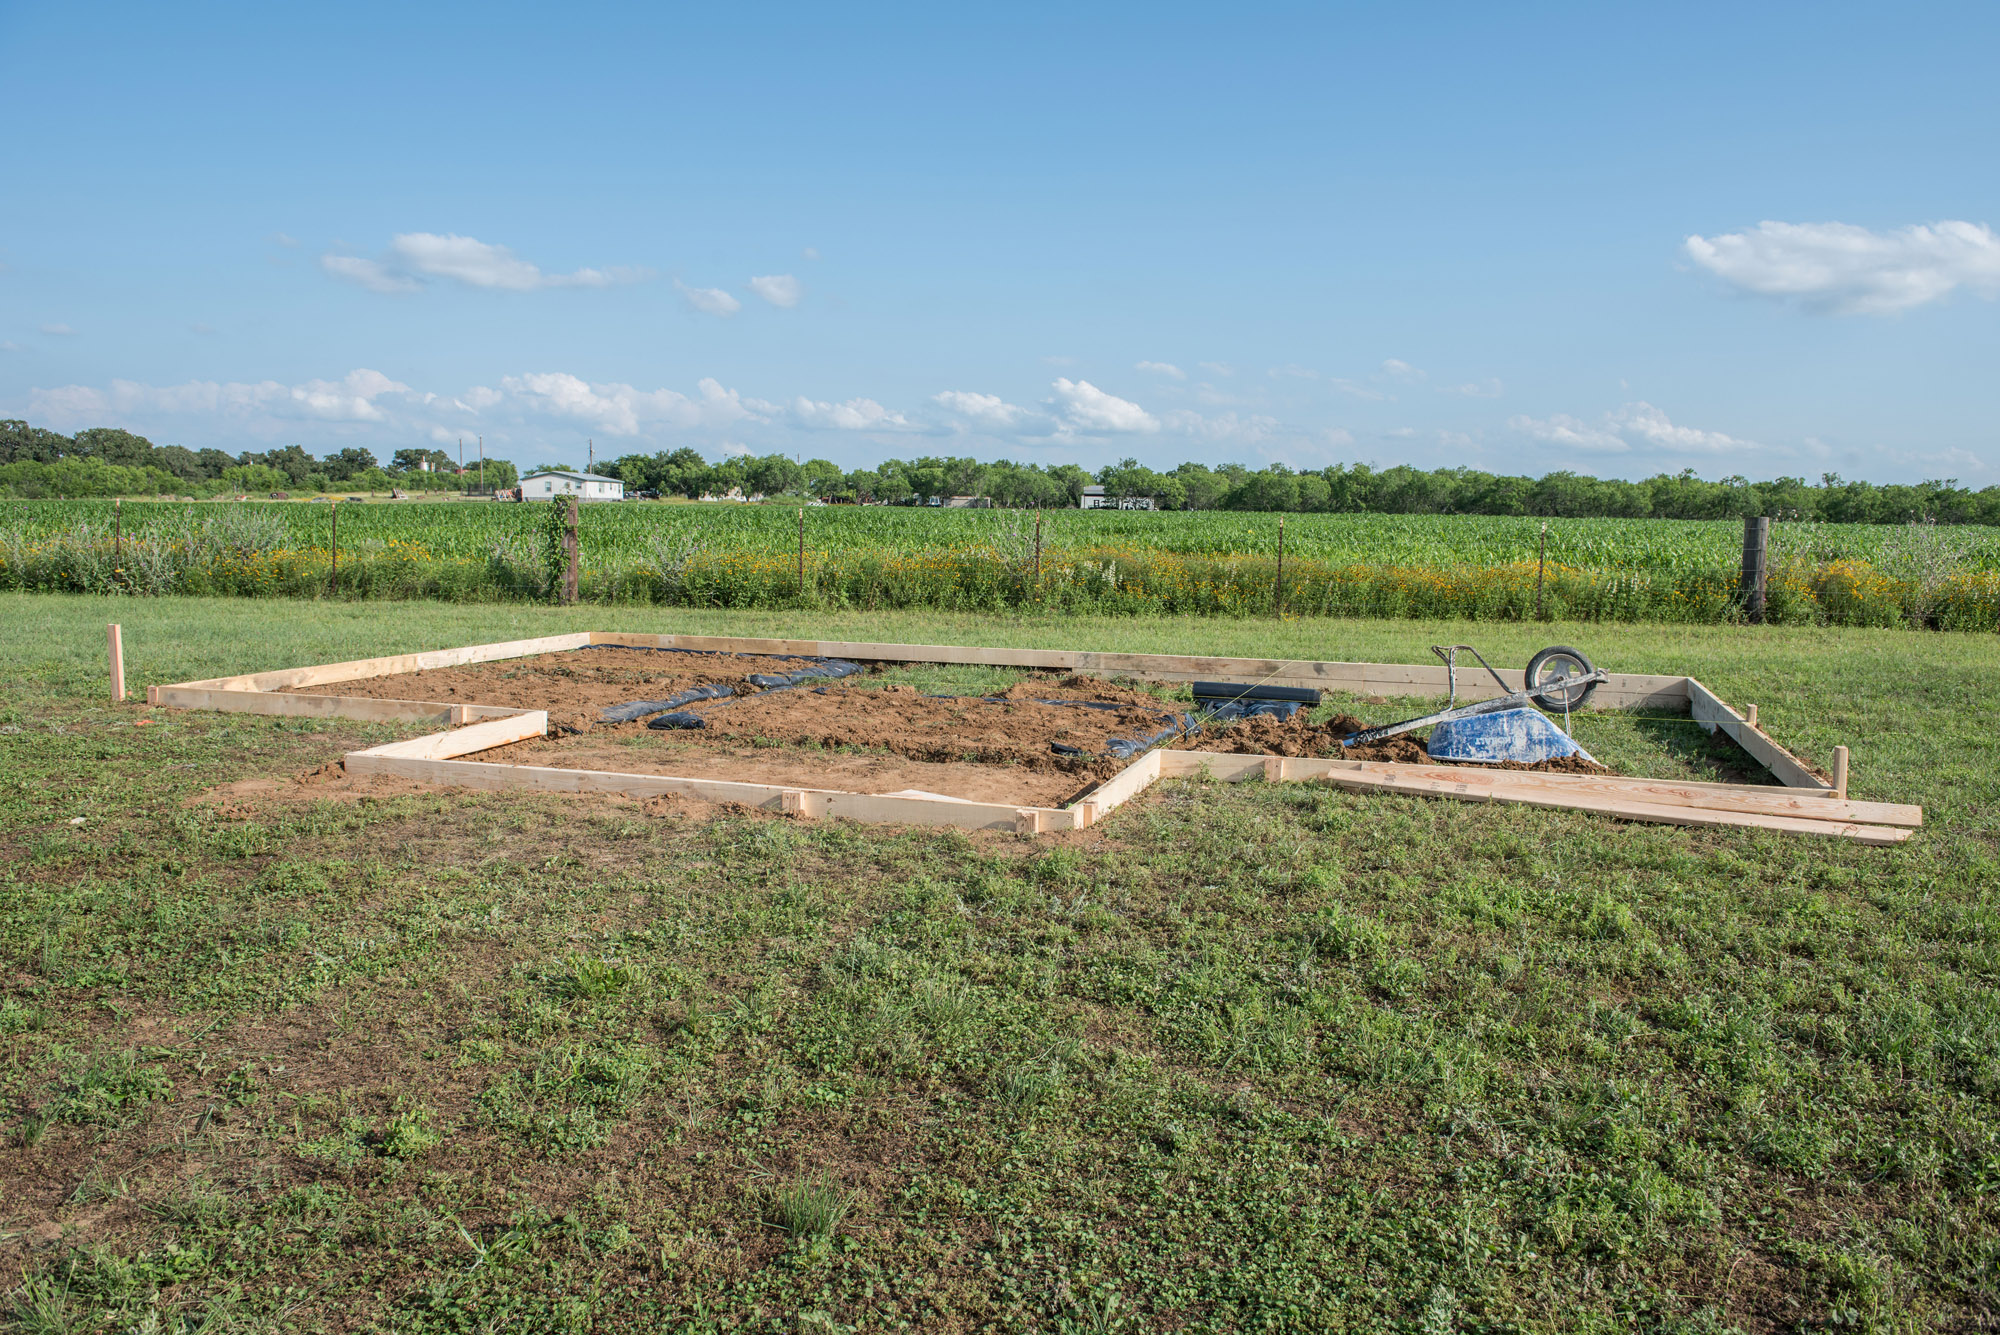
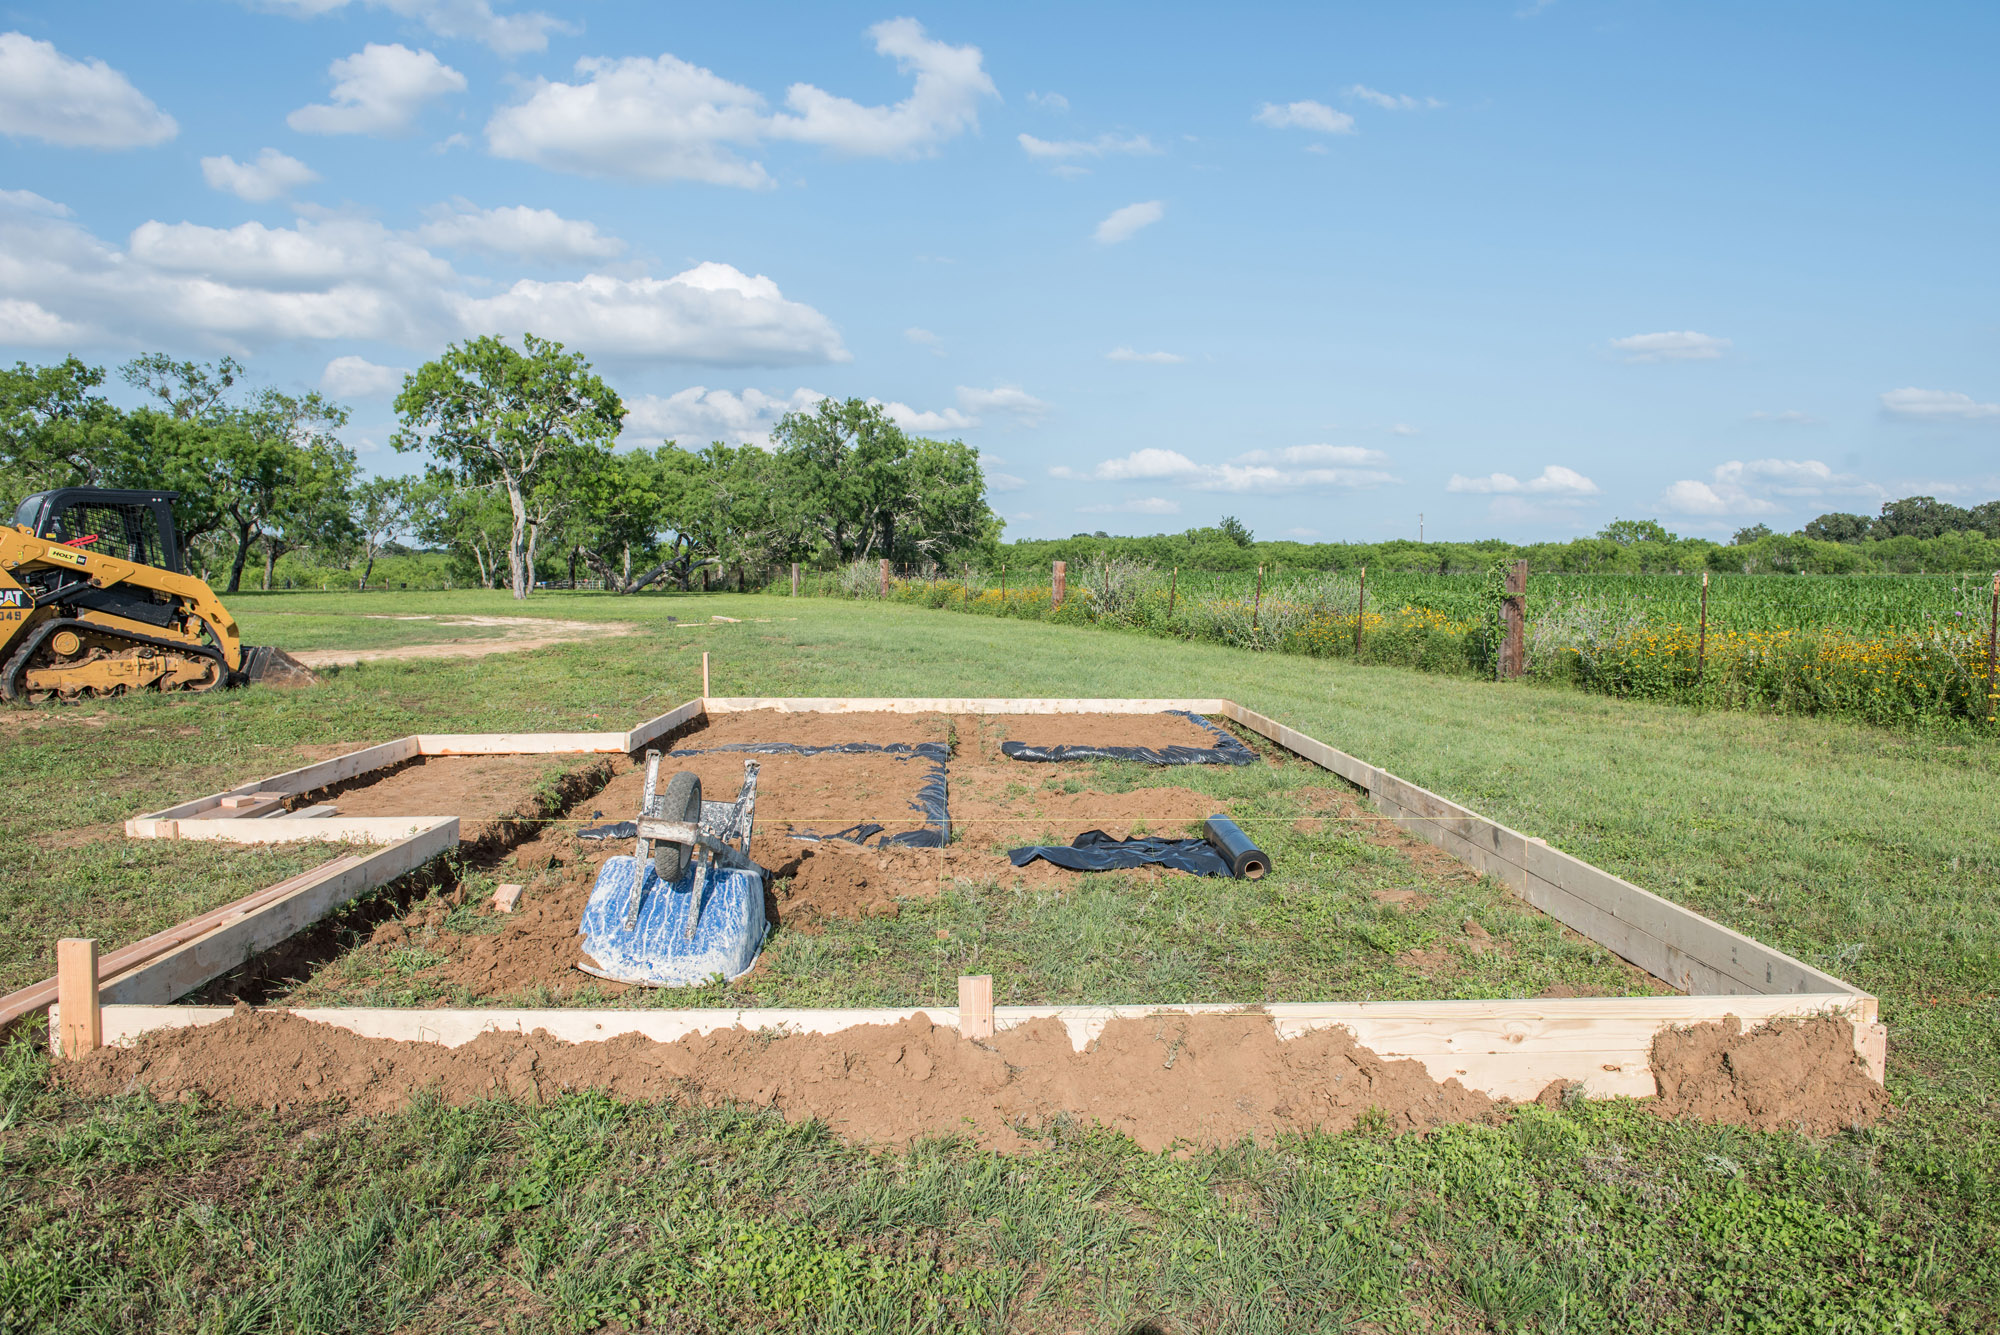
SLAB POUR / FOUNDATION
The first step is to mark off and frame the outline of the structure and reinforce the slab with steel rebar. After the frame is in place with rebar, the slab is poured and smoothed. If you are wanting a concrete stained floor, a machine troweling on slab will ensure the surface be smooth. This was a hand trowel finish suitable for wood or laminate flooring.